> ## Documentation Index
> Fetch the complete documentation index at: https://dragonwingdocs.qualcomm.com/llms.txt
> Use this file to discover all available pages before exploring further.
# Flash Prebuilt Images
## **Getting started quickly with prebuilt images**
If you want to get up and running on Qualcomm Linux hardware without going through a full Yocto build, Qualcomm provides ready-to-flash prebuilt images. You can download and flash these images directly onto your device in minutes — no build environment required.
This is the recommended starting point if you:
* Want to evaluate Qualcomm Linux on supported hardware right away.
* Are exploring the platform before customizing it.
* Do not yet need to add packages, modify default settings, adapt to custom hardware, or integrate your own applications.
If you need to customize the build — for example, to add additional packages, modify default settings, adapt to custom hardware, or add and remove applications — see [Build Qualcomm Linux Using Yocto](./build-qualcomm-linux) to go through the full Yocto build workflow.
***
## **Download prebuilt images**
1. Open the [Prebuilts](https://dragonwingdocs.qualcomm.com/Key-Documents/Flash-Guide/obtain-prebuilts).
2. Go to the **Artifactory links to prebuilt flashable images and eSDK** table.
3. Download the prebuilt flashable image (`.rootfs.qcomflash.tar.gz`) for your target device.
4. Optionally, download the **Platform eSDK** from the same table.
The Platform eSDK is an installer that allows you to synchronize, modify, compile, and install
applications and open-source plug-ins within a complete Yocto environment. Download it if you
plan to extend or customize the prebuilt image later without performing a full build from source.
***
## **Flash the prebuilt images**
Once you have downloaded the prebuilt flashable image, follow the flashing instructions in the [Flash Software Images](https://dragonwingdocs.qualcomm.com/Key-Documents/Flash-Guide/flash-with-qdl).
The flashing procedure covers:
* Updating `udev` rules (one-time prerequisite)
* Forcing the device into EDL (Emergency Download) mode
* Installing QDL (Qualcomm Device Loader)
* Provisioning UFS storage (one-time prerequisite)
* Flashing SAIL (applicable to IQ-9075 and IQ-8275 kits)
* Selecting the correct CDT for your reference kit
* Flashing the software using QDL or PCAT
***
## **Verify the device is up**
After flashing completes and the device reboots, connect to the UART console to confirm Qualcomm Linux has booted successfully. You should see the login prompt for your device:
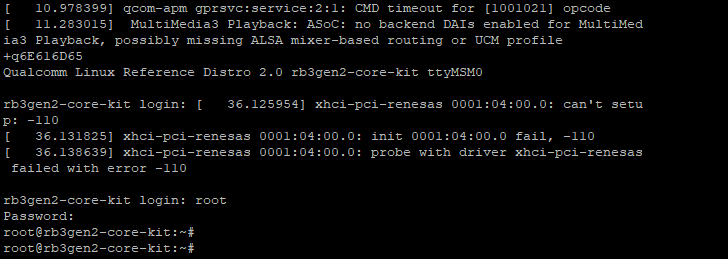 Log in with the default credentials — username `root` and password `oelinux123` — to confirm the system is running.
***
## **Next steps**
After flashing and booting into Qualcomm Linux, you can:
* Verify the installed software version — see [Set Up the Device](https://docs.qualcomm.com/bundle/publicresource/topics/80-80022-251/set_up_the_device.html).
* Explore the platform and run applications.
* When you are ready to customize — add packages, modify configurations, or adapt to your own hardware — return to this guide and start with [Build Qualcomm Linux Using Yocto](./build-qualcomm-linux).
Log in with the default credentials — username `root` and password `oelinux123` — to confirm the system is running.
***
## **Next steps**
After flashing and booting into Qualcomm Linux, you can:
* Verify the installed software version — see [Set Up the Device](https://docs.qualcomm.com/bundle/publicresource/topics/80-80022-251/set_up_the_device.html).
* Explore the platform and run applications.
* When you are ready to customize — add packages, modify configurations, or adapt to your own hardware — return to this guide and start with [Build Qualcomm Linux Using Yocto](./build-qualcomm-linux).