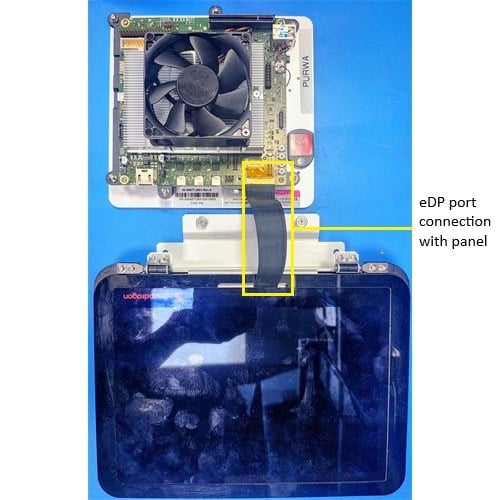
**Figure: IQ-X5121 eDP connector**

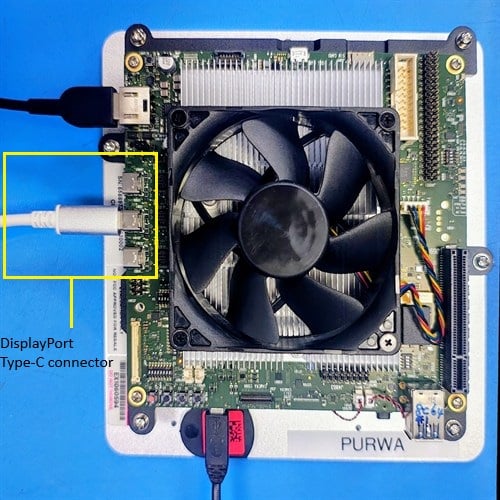
**Figure: IQ-X5121 USB Type-C DisplayPort connection**
**Figure: IQ-X5121 eDP connector**
**Figure: IQ-X5121 USB Type-C DisplayPort connection**