
**Figure: HDMI setup workflow**

**Figure: HDMI cable connection**


**Figure: DisplayPort setup workflow**
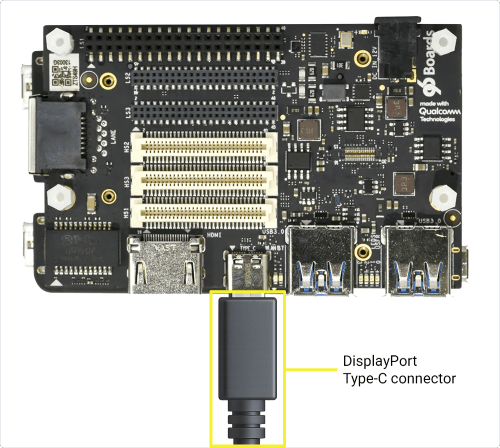
**Figure: DisplayPort setup**
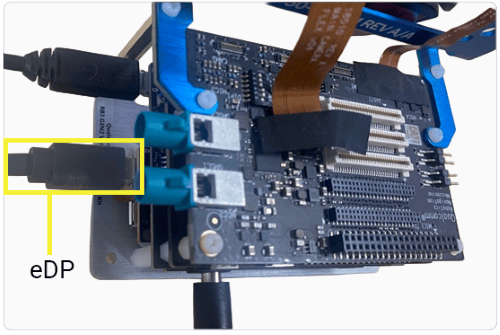
**Figure: eDP setup**
**Figure: HDMI setup workflow**
**Figure: HDMI cable connection**
**Figure: DisplayPort setup workflow**
**Figure: DisplayPort setup**
**Figure: eDP setup**