> ## Documentation Index
> Fetch the complete documentation index at: https://dragonwingdocs.qualcomm.com/llms.txt
> Use this file to discover all available pages before exploring further.
# Flash the Operating System
> Select a development kit, choose a target OS, and flash it with Qualcomm® Launcher.
This guide uses the **IQ-8275 Evaluation Kit Pro** with **Ubuntu Server
24.04-x08** as the target OS.
## Prerequisites
Complete the [installation guide](./installation) before proceeding.
Have two USB cables available: a **USB Type-C** cable to connect the device
for flashing, and a **USB Type-B** cable for serial connection to configure
Wi-Fi.
***
## Flashing steps
Launch the Qualcomm® Launcher application from your host machine.
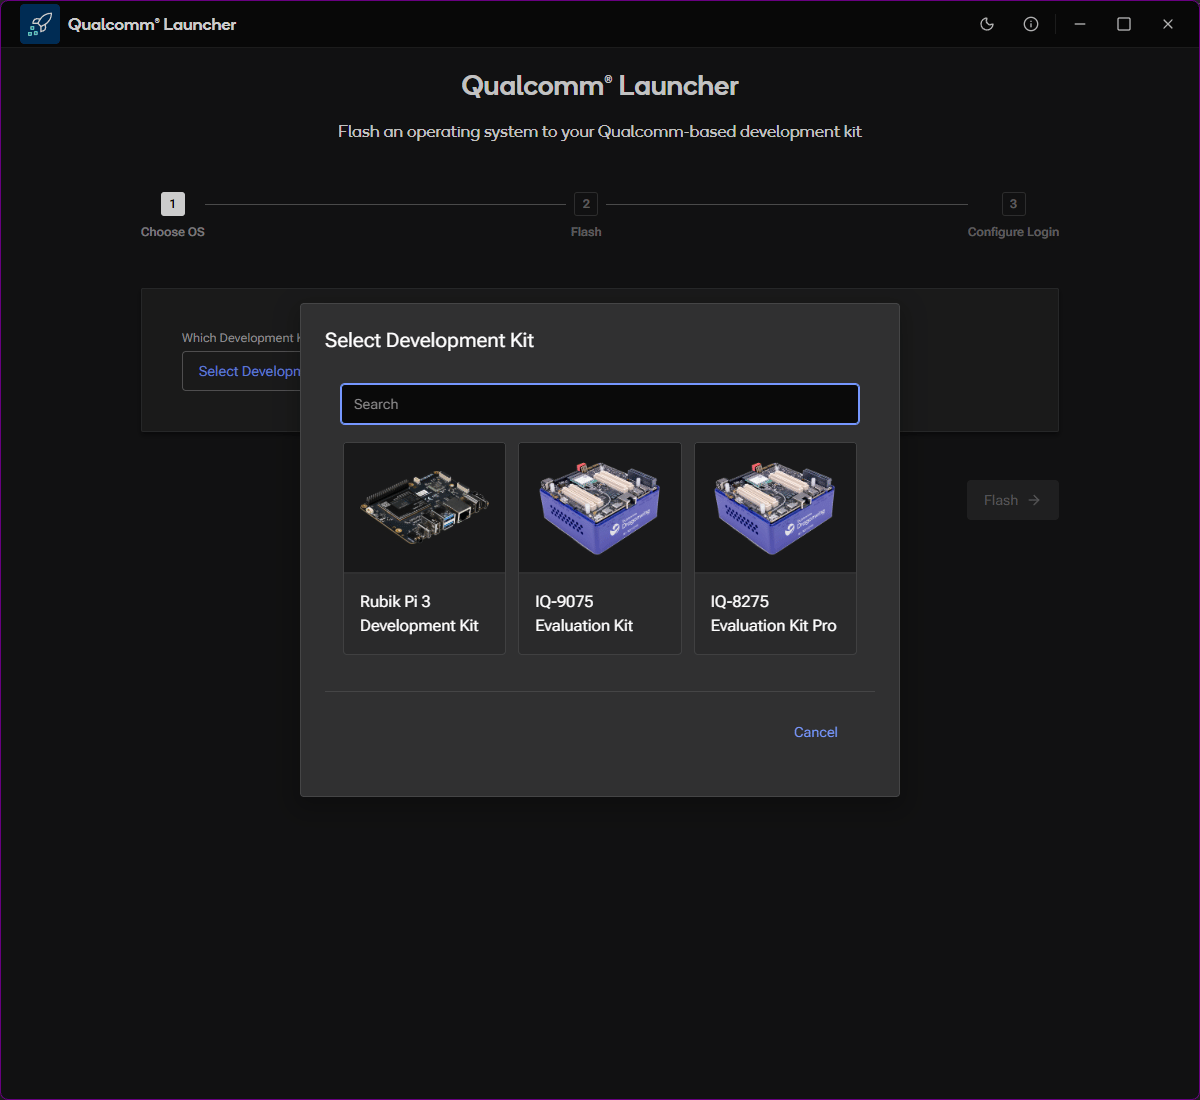
Click **Select Development Kit** and choose your kit from the available list.
Use the search box to filter by name.
 After selecting your development kit, choose a **Target Operating System**.
Use the **Variant** and **Version** dropdowns to select an official OS release.
Select **Custom** and point to a local folder containing your image.
You can also change the **Download Location** from the default path.
After selecting your development kit, choose a **Target Operating System**.
Use the **Variant** and **Version** dropdowns to select an official OS release.
Select **Custom** and point to a local folder containing your image.
You can also change the **Download Location** from the default path.
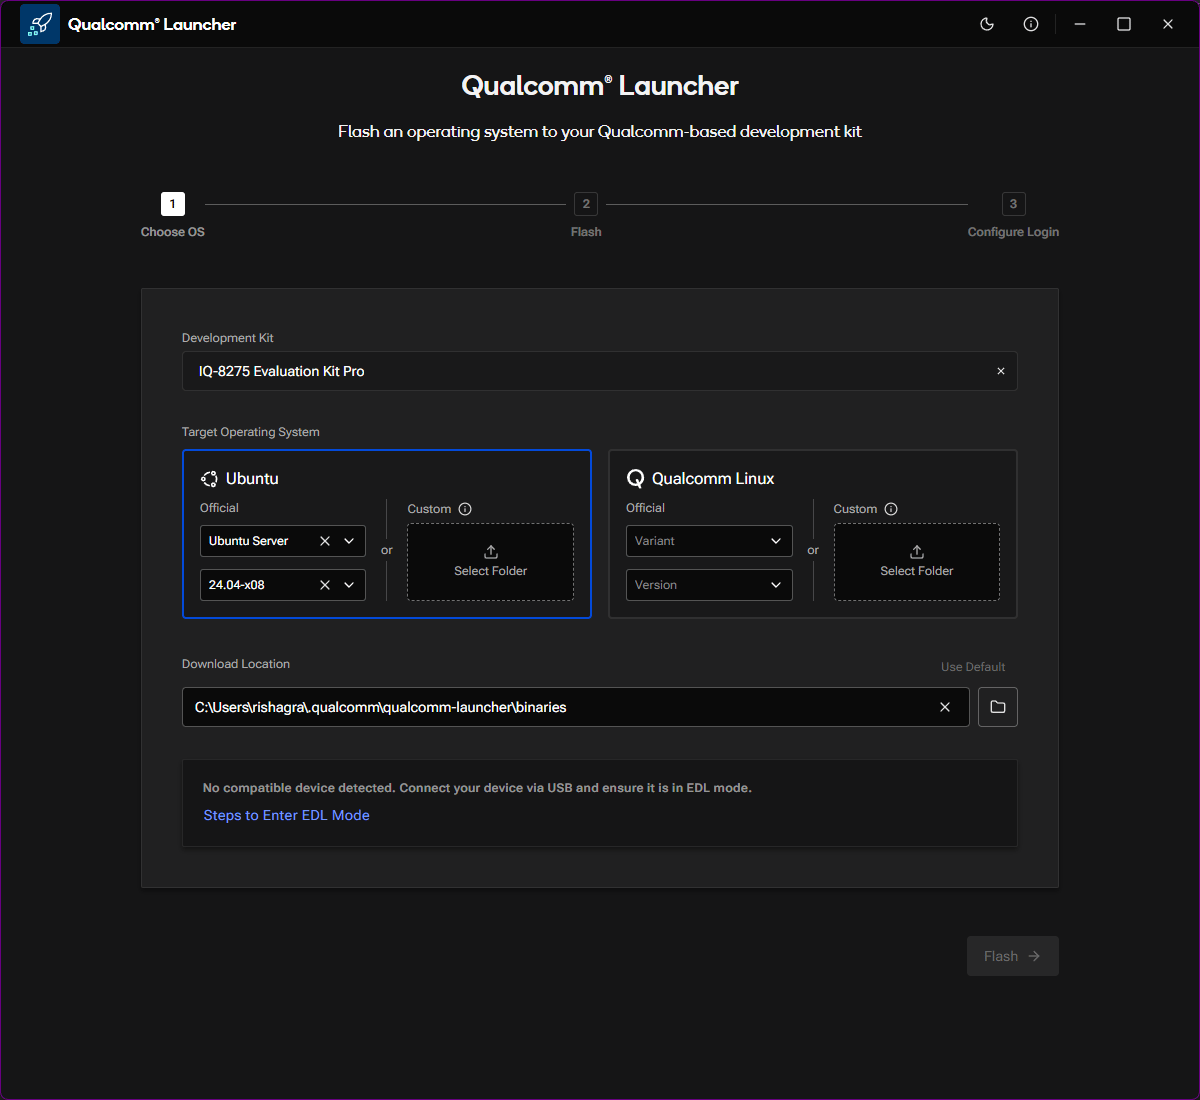 If no compatible device is detected, the screen shows: *"No compatible device detected. Connect your device via USB and ensure it is in EDL mode."* A **Steps to Enter EDL Mode** link is provided in-app.
 Place the device into **EDL (Emergency Download) mode** before flashing.
Step-by-step instructions for your specific device are available inside the application via the **Steps to Enter EDL Mode** link.
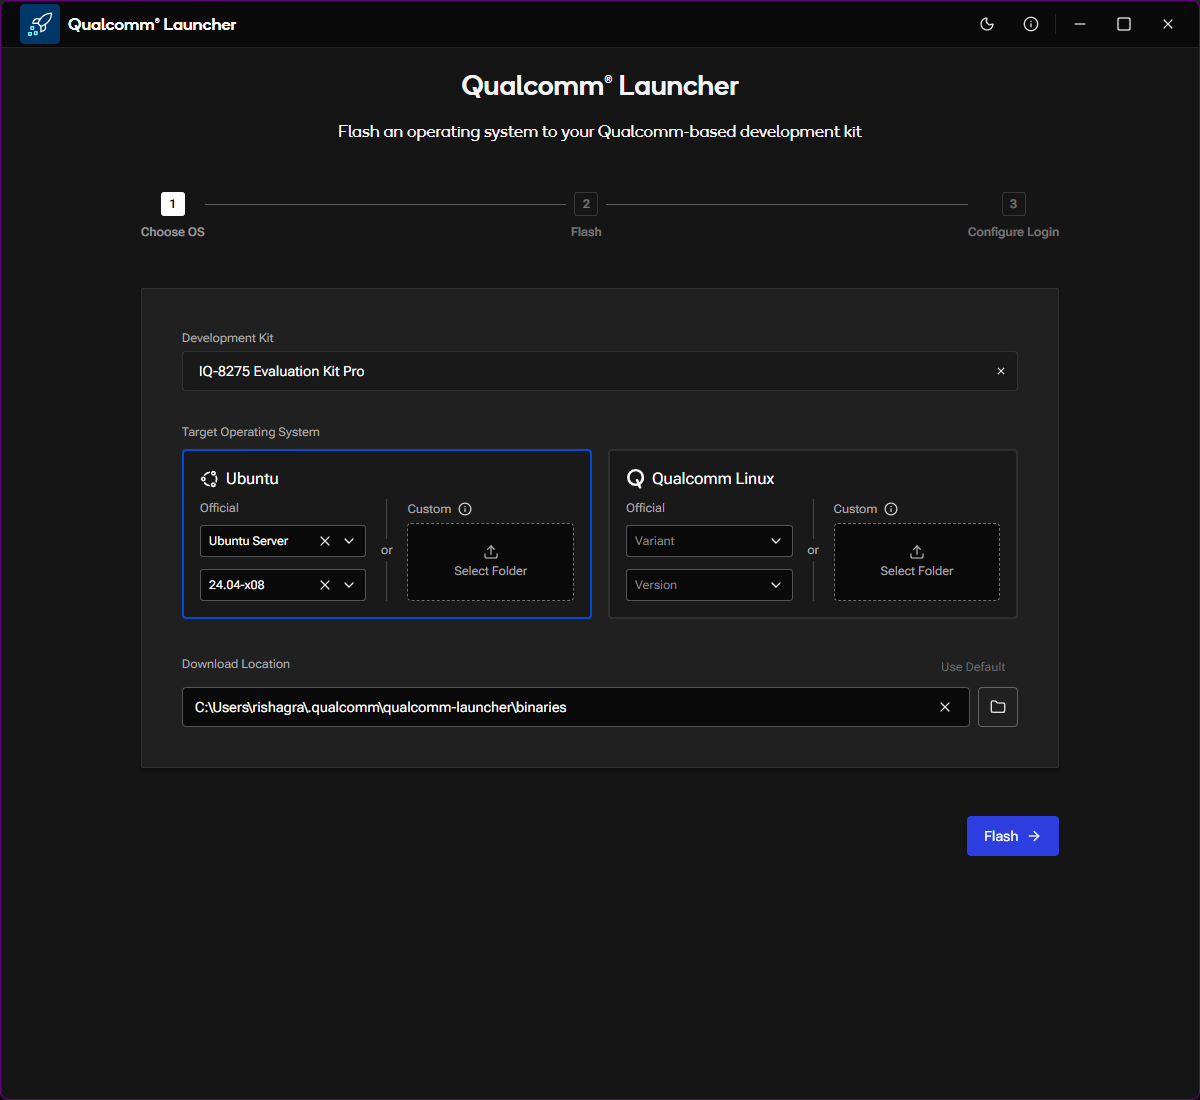
Once in EDL mode, the device is detected automatically.
Click the **Flash** button to begin the flashing process.
The progress screen shows real-time flashing status: platform image download, background flashing activity, and a live log.
Place the device into **EDL (Emergency Download) mode** before flashing.
Step-by-step instructions for your specific device are available inside the application via the **Steps to Enter EDL Mode** link.
Once in EDL mode, the device is detected automatically.
Click the **Flash** button to begin the flashing process.
The progress screen shows real-time flashing status: platform image download, background flashing activity, and a live log.
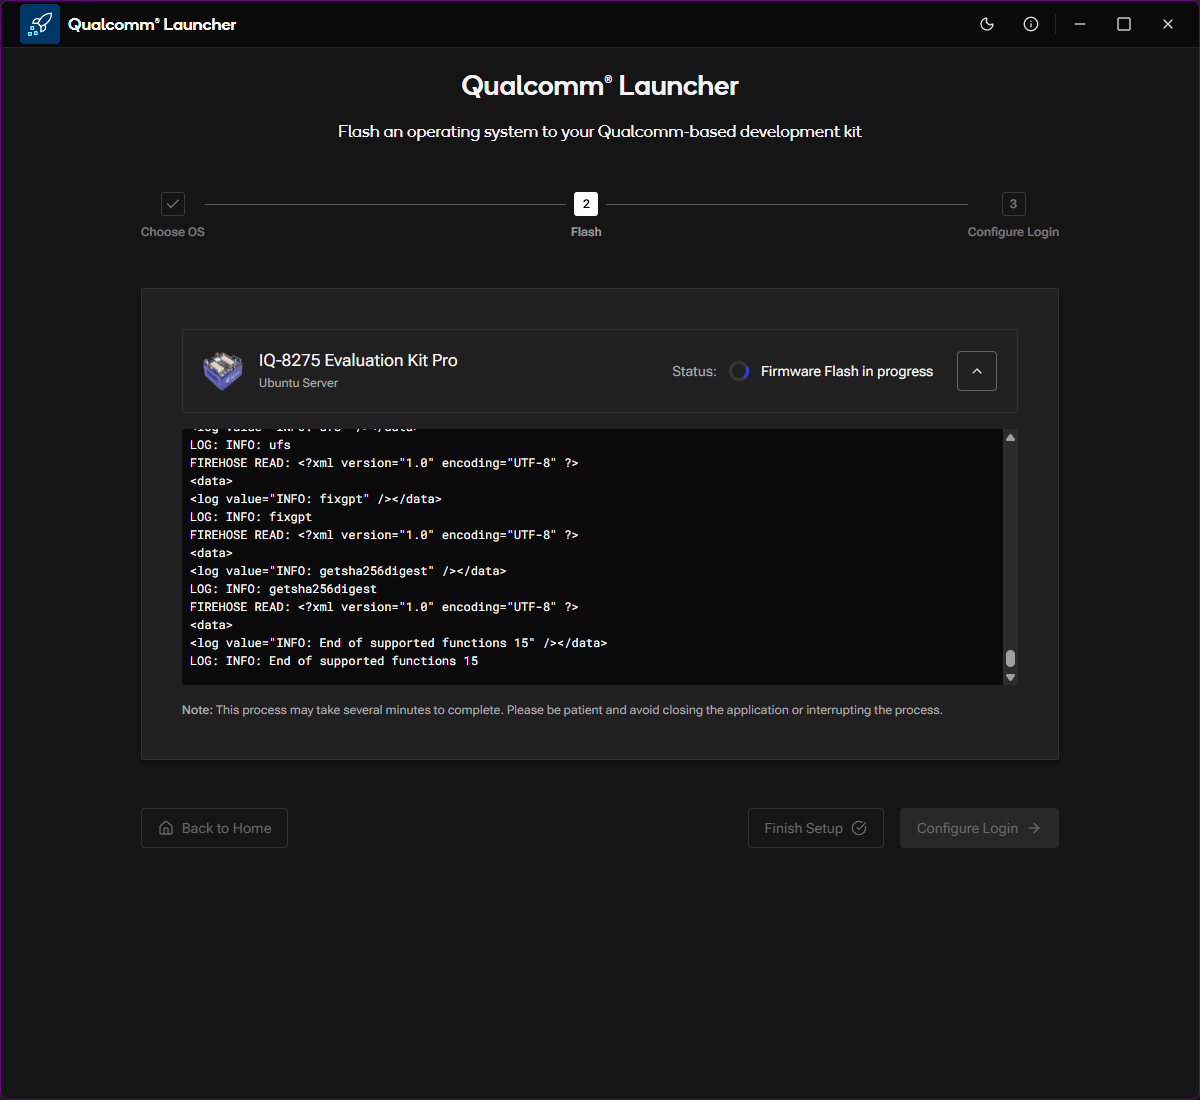 This process may take several minutes. **Do not close the application or disconnect the device** while flashing is in progress.
Some firmware updates require a **second EDL mode placement** mid-flash. If this applies to your device, a prompt appears:
> **Put Device in EDL Mode to Continue**
> The additional firmware flash step completed successfully. To proceed with flashing the operating system, the device must be placed in EDL mode again.
This process may take several minutes. **Do not close the application or disconnect the device** while flashing is in progress.
Some firmware updates require a **second EDL mode placement** mid-flash. If this applies to your device, a prompt appears:
> **Put Device in EDL Mode to Continue**
> The additional firmware flash step completed successfully. To proceed with flashing the operating system, the device must be placed in EDL mode again.
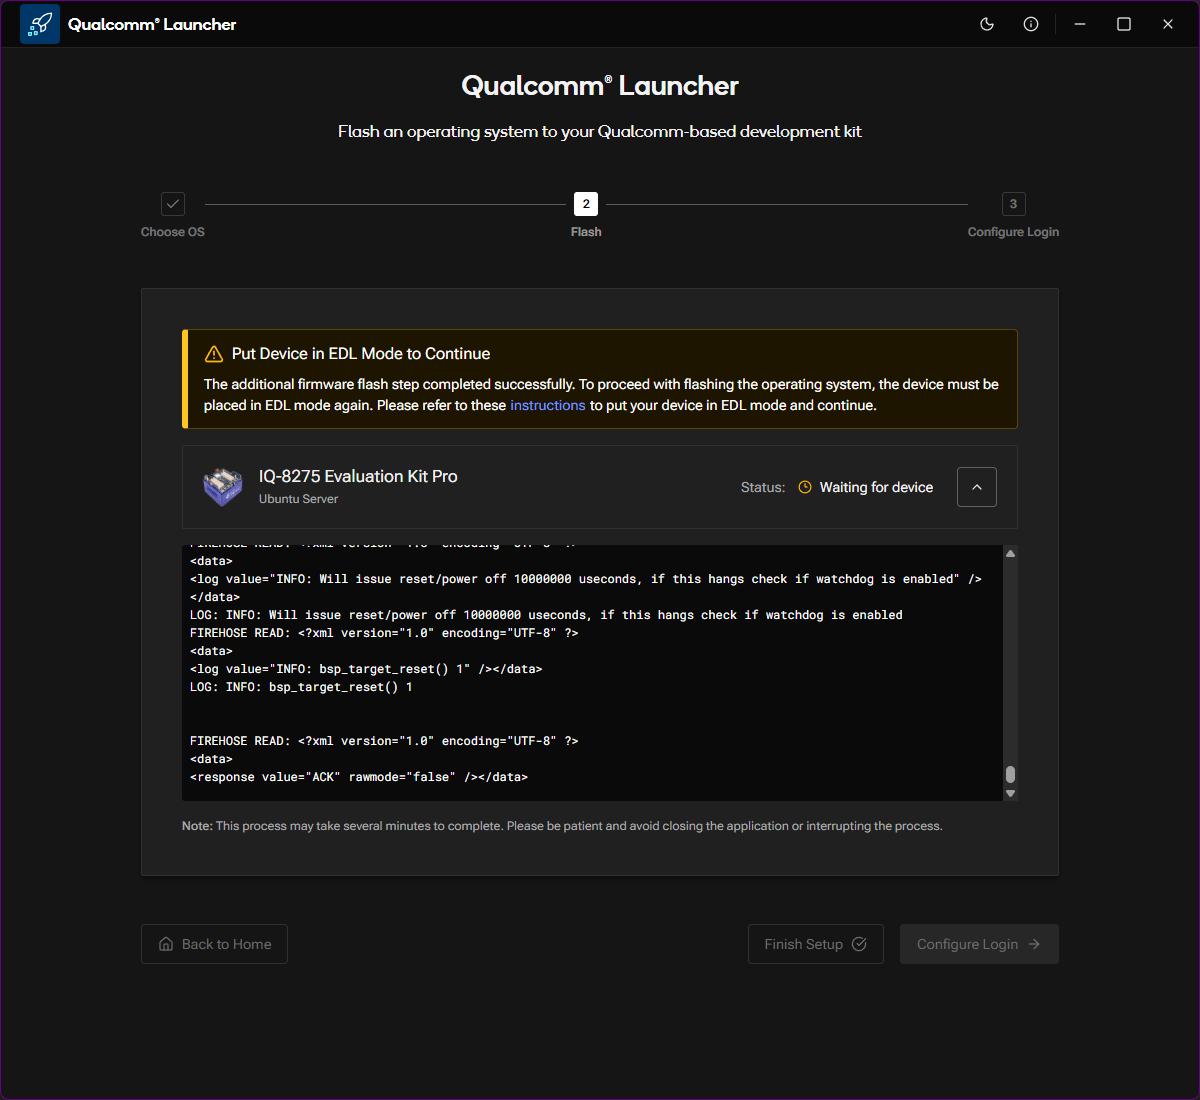 Re-enter EDL mode as prompted. Flashing resumes automatically once the device is detected.
When the OS image flashes successfully, the status changes to **"OS image Flash completed successfully"** and the **Configure Login** button becomes active.
Re-enter EDL mode as prompted. Flashing resumes automatically once the device is detected.
When the OS image flashes successfully, the status changes to **"OS image Flash completed successfully"** and the **Configure Login** button becomes active.
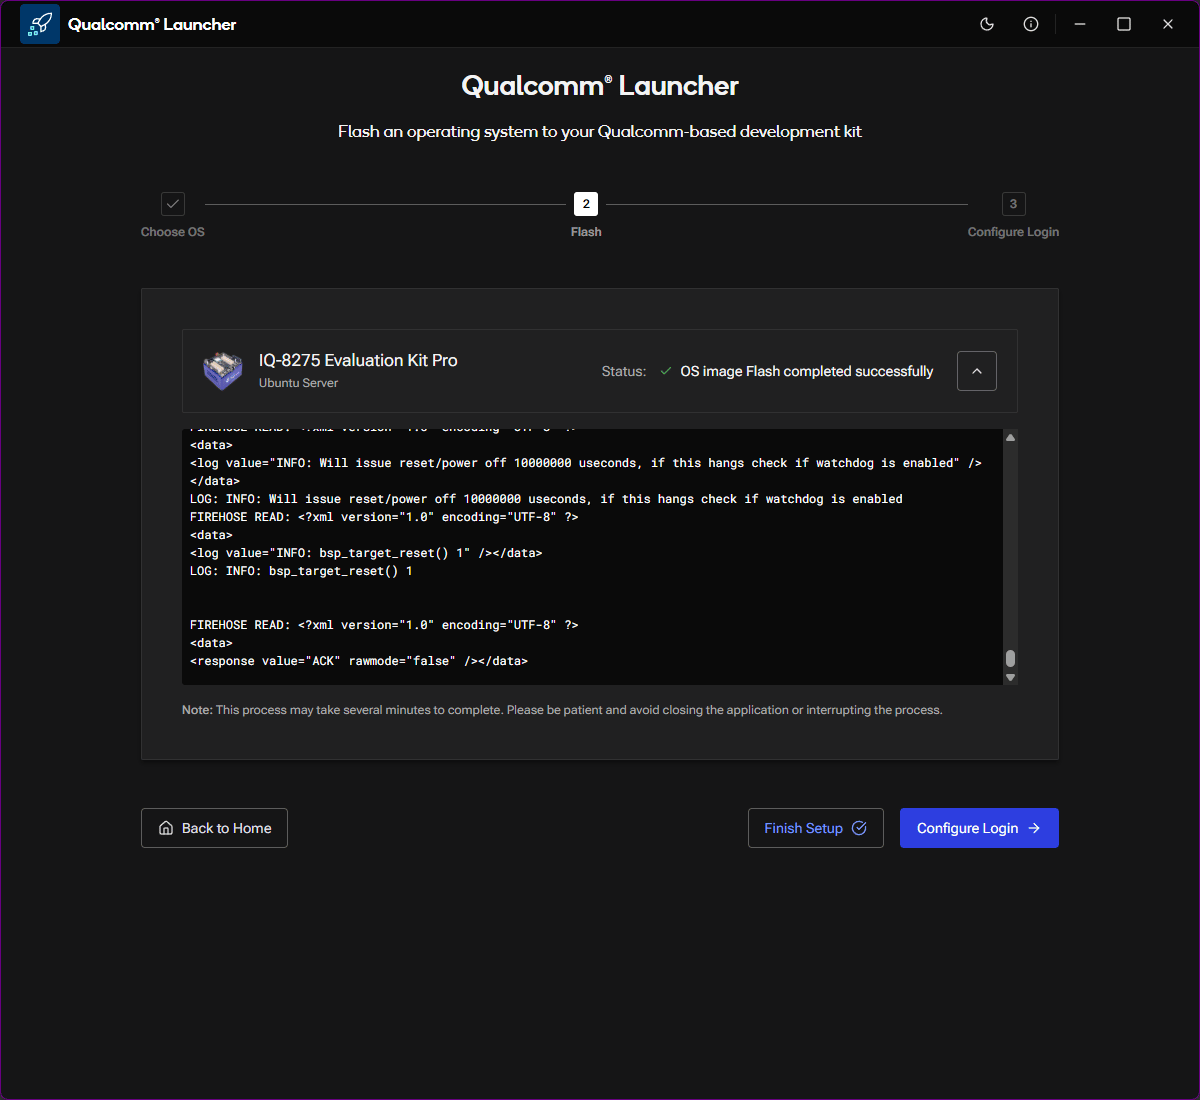 OS flashing is complete. The device is ready for initial configuration.
## Next step
Click **Configure Login** or continue to the [Configure the Device](./configure-device) guide.
OS flashing is complete. The device is ready for initial configuration.
## Next step
Click **Configure Login** or continue to the [Configure the Device](./configure-device) guide.