

Implement and deploy OpenCV sample application

Prerequisites
- Install the Platform SDK using either of the following methods:
Implement OpenCV rotate application with FastCV
See OpenCV rotate() for API usage details.-
Go to your SDK installation path on the Linux host and set the SDK environment by running the following command:
-
Run the following commands to create and change the
opencv_rotatedirectory in the SDK install directory. -
Create the following
configure.ac,Makefile.amandopencv_rotate.cppfiles in theopencv_rotatedirectory.NoteThe JPG image referenced in this example is from this sample image, and can be changed.configure.acMakefile.amopencv_rotate.cpp
Compile OpenCV rotate application
- Run the following commands.
- Run the
makecommand to compile the application.Theopencv_rotate_testtest application generates in theopencv_rotatedirectory.
Run OpenCV rotate application
-
To push the test bin, run the following command on the host.
NoteIf you are unable to copy the file, remount using the following commands:Check permissions using:
-
Run the following command to change directories (
cd) to the path (for example./images/boat1.jpg) of the test image. -
Create a directory (for example
/tmp/test/samples/) on the device to push the test image. This/tmp/test/samples/directory is also the location of the output image in test code. Modify this directory according to the specified output location on your machine. -
Run the following command to push the test image to the device.
-
To start the test on the target device, run the following commands.
-
To get the results, run the following command.
The
/tmp/test/samples/directory is the location of the output image in test code. Modify according to your specified output location. The following is the expected result.Input Rotate Output 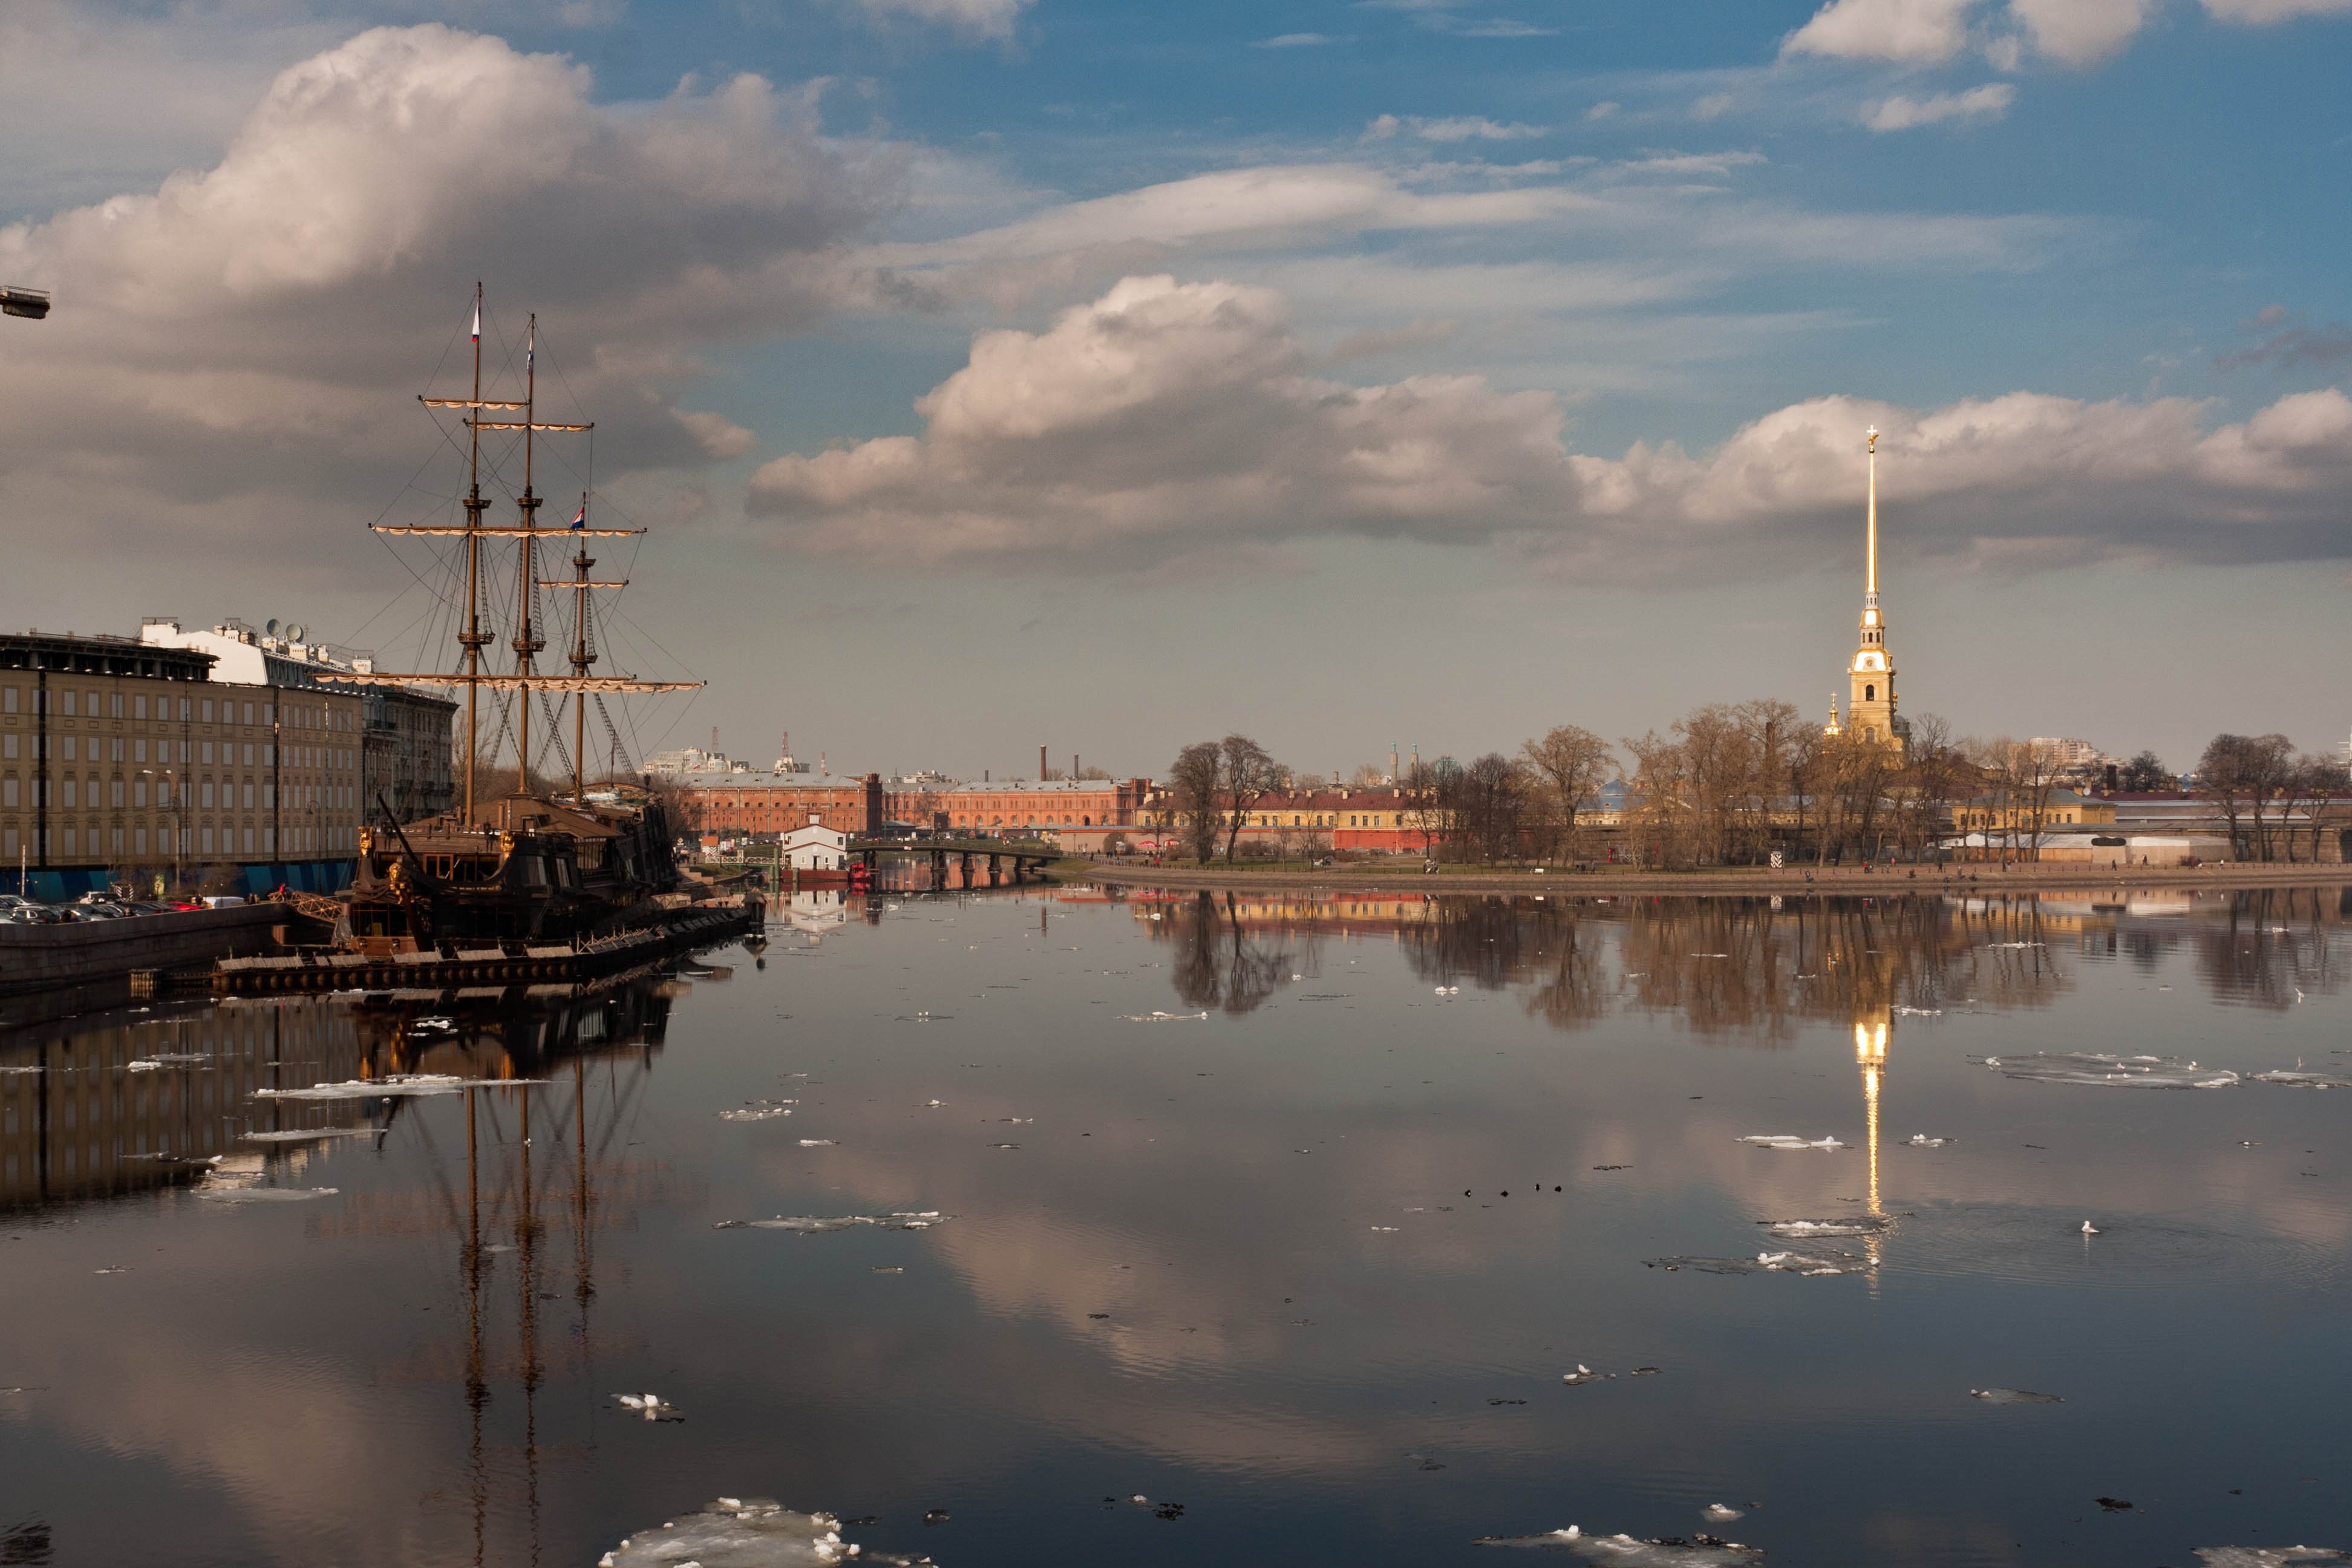
ROTATE_90_CLOCKWISE 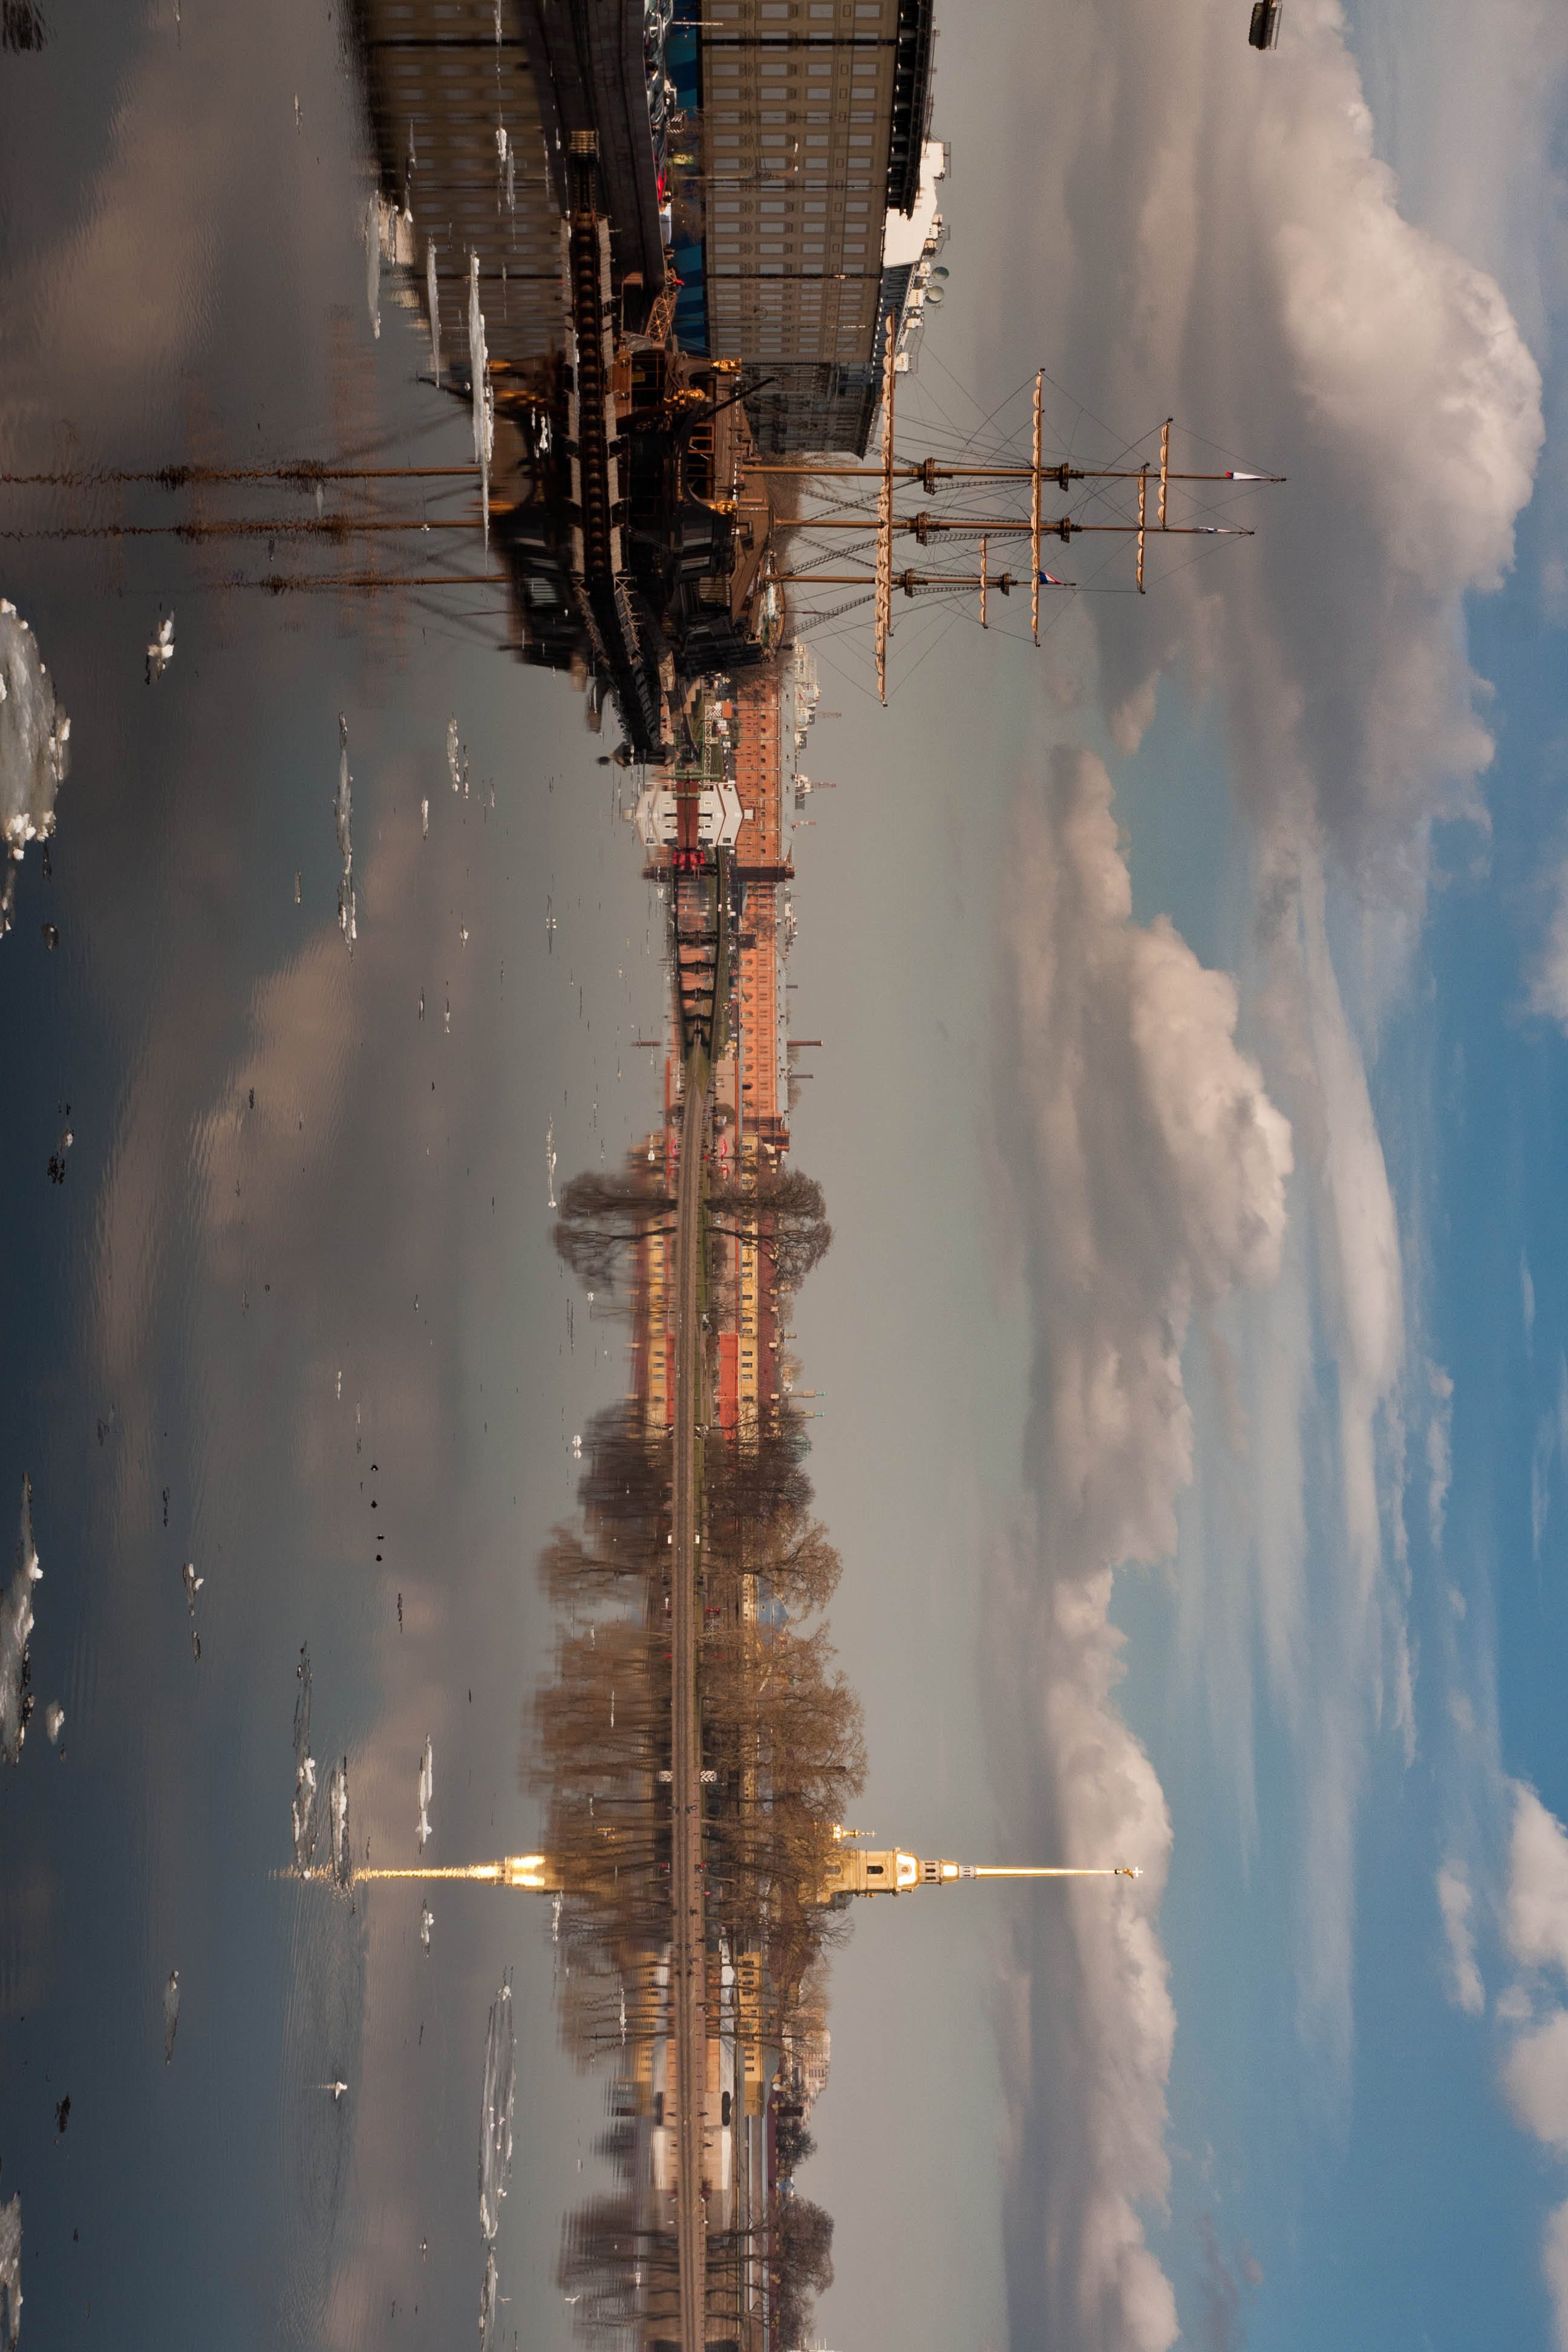
Implement OpenCV resize application with FastCV extension
See OpenCV resize() for API usage details.-
Once the SDK is installed, run the following commands to create and change the
opencv_resize_extensiondirectory in the SDK install directory. -
Create the following
configure.ac,Makefile.am, andopencv_resize_extension.cppfiles in theopencv_resize_extensiondirectory.NoteThe PNG image referenced in this example is this sample image, but you can use another image if you want.configure.acMakefile.amopencv_resize_extension.cpp
Compile OpenCV resize application
- Run the following commands.
- Run the make command to compile the application.
The
opencv_resize_testtest application generates in theopencv_resize_extensiondirectory.
Run OpenCV resize application
-
To push the test bin, run the following command on the host.
-
Run the following command to change directories (
cd) to the path of the test image (for example./images/box_in_scene.png). -
Create a directory on the device to copy the test image to (for example
/tmp/test/samples/). This/tmp/test/samples/directory is also the location of the output image in the sample code. Modify this directory according to the specified output location on your machine. -
Run the following command to copy the test image to the device.
-
To start the test on the target device, run the following commands.
-
To get the results, run the following command.
The
/tmp/test/samples/directory is the location of the output image in the sample code. Modify this location according to your specified output location. The following is the expected result.Input Resize factor Output 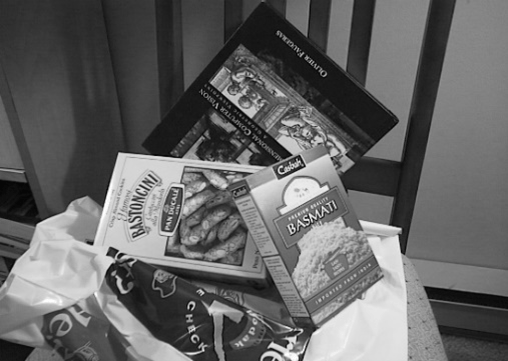
fx=1/2 fy=1/2 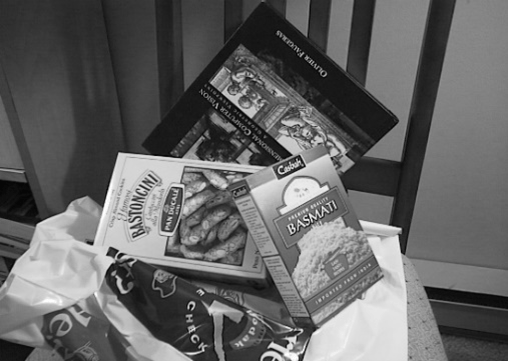
OpenCV rotate function usage
Rotates a 2D array in multiples of 90 degrees. Therotate() function rotates the array in one of the following ways.
- 90 degrees clockwise:
rotateCode = ROTATE_90_CLOCKWISE - 180 degrees clockwise:
rotateCode = ROTATE_180 - 270 degrees clockwise:
rotateCode = ROTATE_90_COUNTERCLOCKWISE
Parameters
| Type | Parameter | Description |
|---|---|---|
| InputArray | src | Input array. |
| OutputArray | dst | Output array of the same type as the source. The size is the same with ROTATE_180 and the rows and columns are switched for ROTATE_90_CLOCKWISE and ROTATE_90_COUNTERCLOCKWISE. |
| int | code | An enum to specify how to rotate the array; see the RotateFlags enum.RotateFlags:
|
rotate(), see the full API documentation
OpenCV resize function usage
Input to the OpenCV resize() function is a source (src) image in the form of CVMatrix.NoteOnly grayscale images are supported.
Parameters
| Type | Parameter | Description |
|---|---|---|
| InputArray | input | Input image. |
| OutputArray | dst | Output image. |
| Size | dsize | The desired size of the output image. If empty, it is calculated using inv_scale_x and inv_scale_y. |
| double | inv_scale_x | The inverse scaling factor for the width. If dsize is provided, this parameter is ignored. |
| double | inv_scale_y | The inverse scaling factor for the height. If dsize is provided, this parameter is ignored. |
resize(), see the full API documentation.