

Export a custom YOLOv8 model using the QAIRT SDK
Prerequisites
Install the Qualcomm AI Runtime SDK on a host computer withPython >= 3.10 and PyTorch >=1.8.
For more details, follow Install Qualcomm AI Runtime SDK.
Run the following commands on the host computer.
Activate your virtual environment
Install the Ultralytics package and export the ONNX model
Procedure
Convert the ONNX model to DLC
Generate quantized DLC
Prepare the calibration data set
Gather 5-10 images that used during training and save these images in the input directory
Use the preprocess.py script to convert .jpg images into the RAW files required for quantization
Download the script
Run the script with the following options
<INPUT PATH>: Folder containing the original images<OUTPUT PATH>: Folder where the RAW files will be generated
Create an input.txt file containing the paths to all generated RAW files
Quantize the model
snpe-dlc-quantize to convert the model to quantized DLC.Run the demo
Download the labels file
On the host computer, set the user environment variable
Push the test video file to /etc/media on the device
Push the quantized YoloV8 model to the device
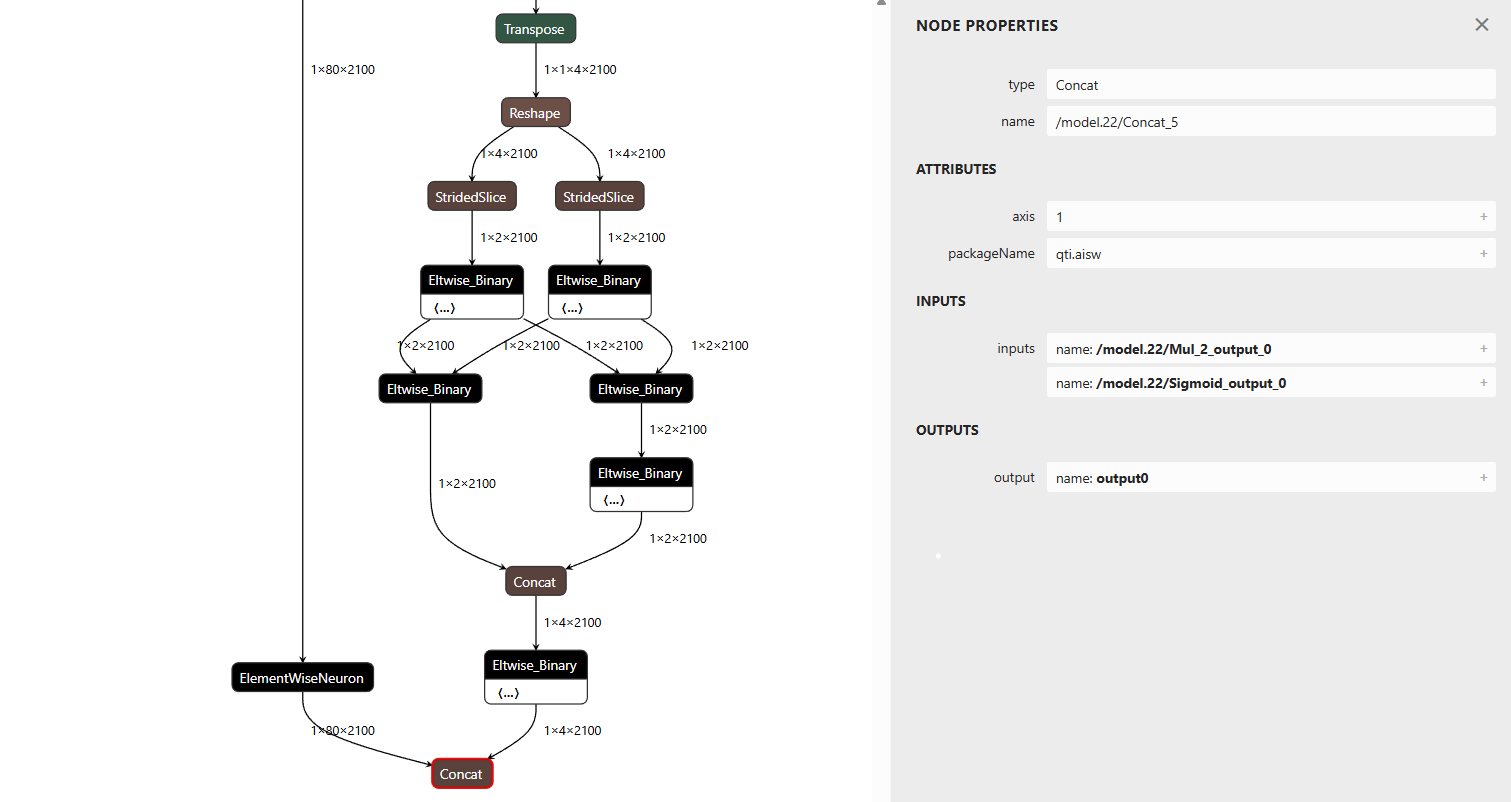
Retrieve the output tensor of the model, for example output0
Sign in to the device using SSH
In the new shell, run the following command
<video file path>: Path to the input video file<model file path>: Path to the YOLOv8 DLC model file<label file path>: Path to the YOLOv8 label fileFor example: