

Install QSC
To get started, register with Qualcomm to get a Qualcomm ID.Machine requirements
- Linux (Ubuntu 22.04), Windows, Mac (arm)
- Internet connectivity to Qualcomm back end servers (see firewall requirements ).
- Minimum available storage of 300 GB to download and compile software product builds.
- Minimum of 16 GB RAM.
Windows
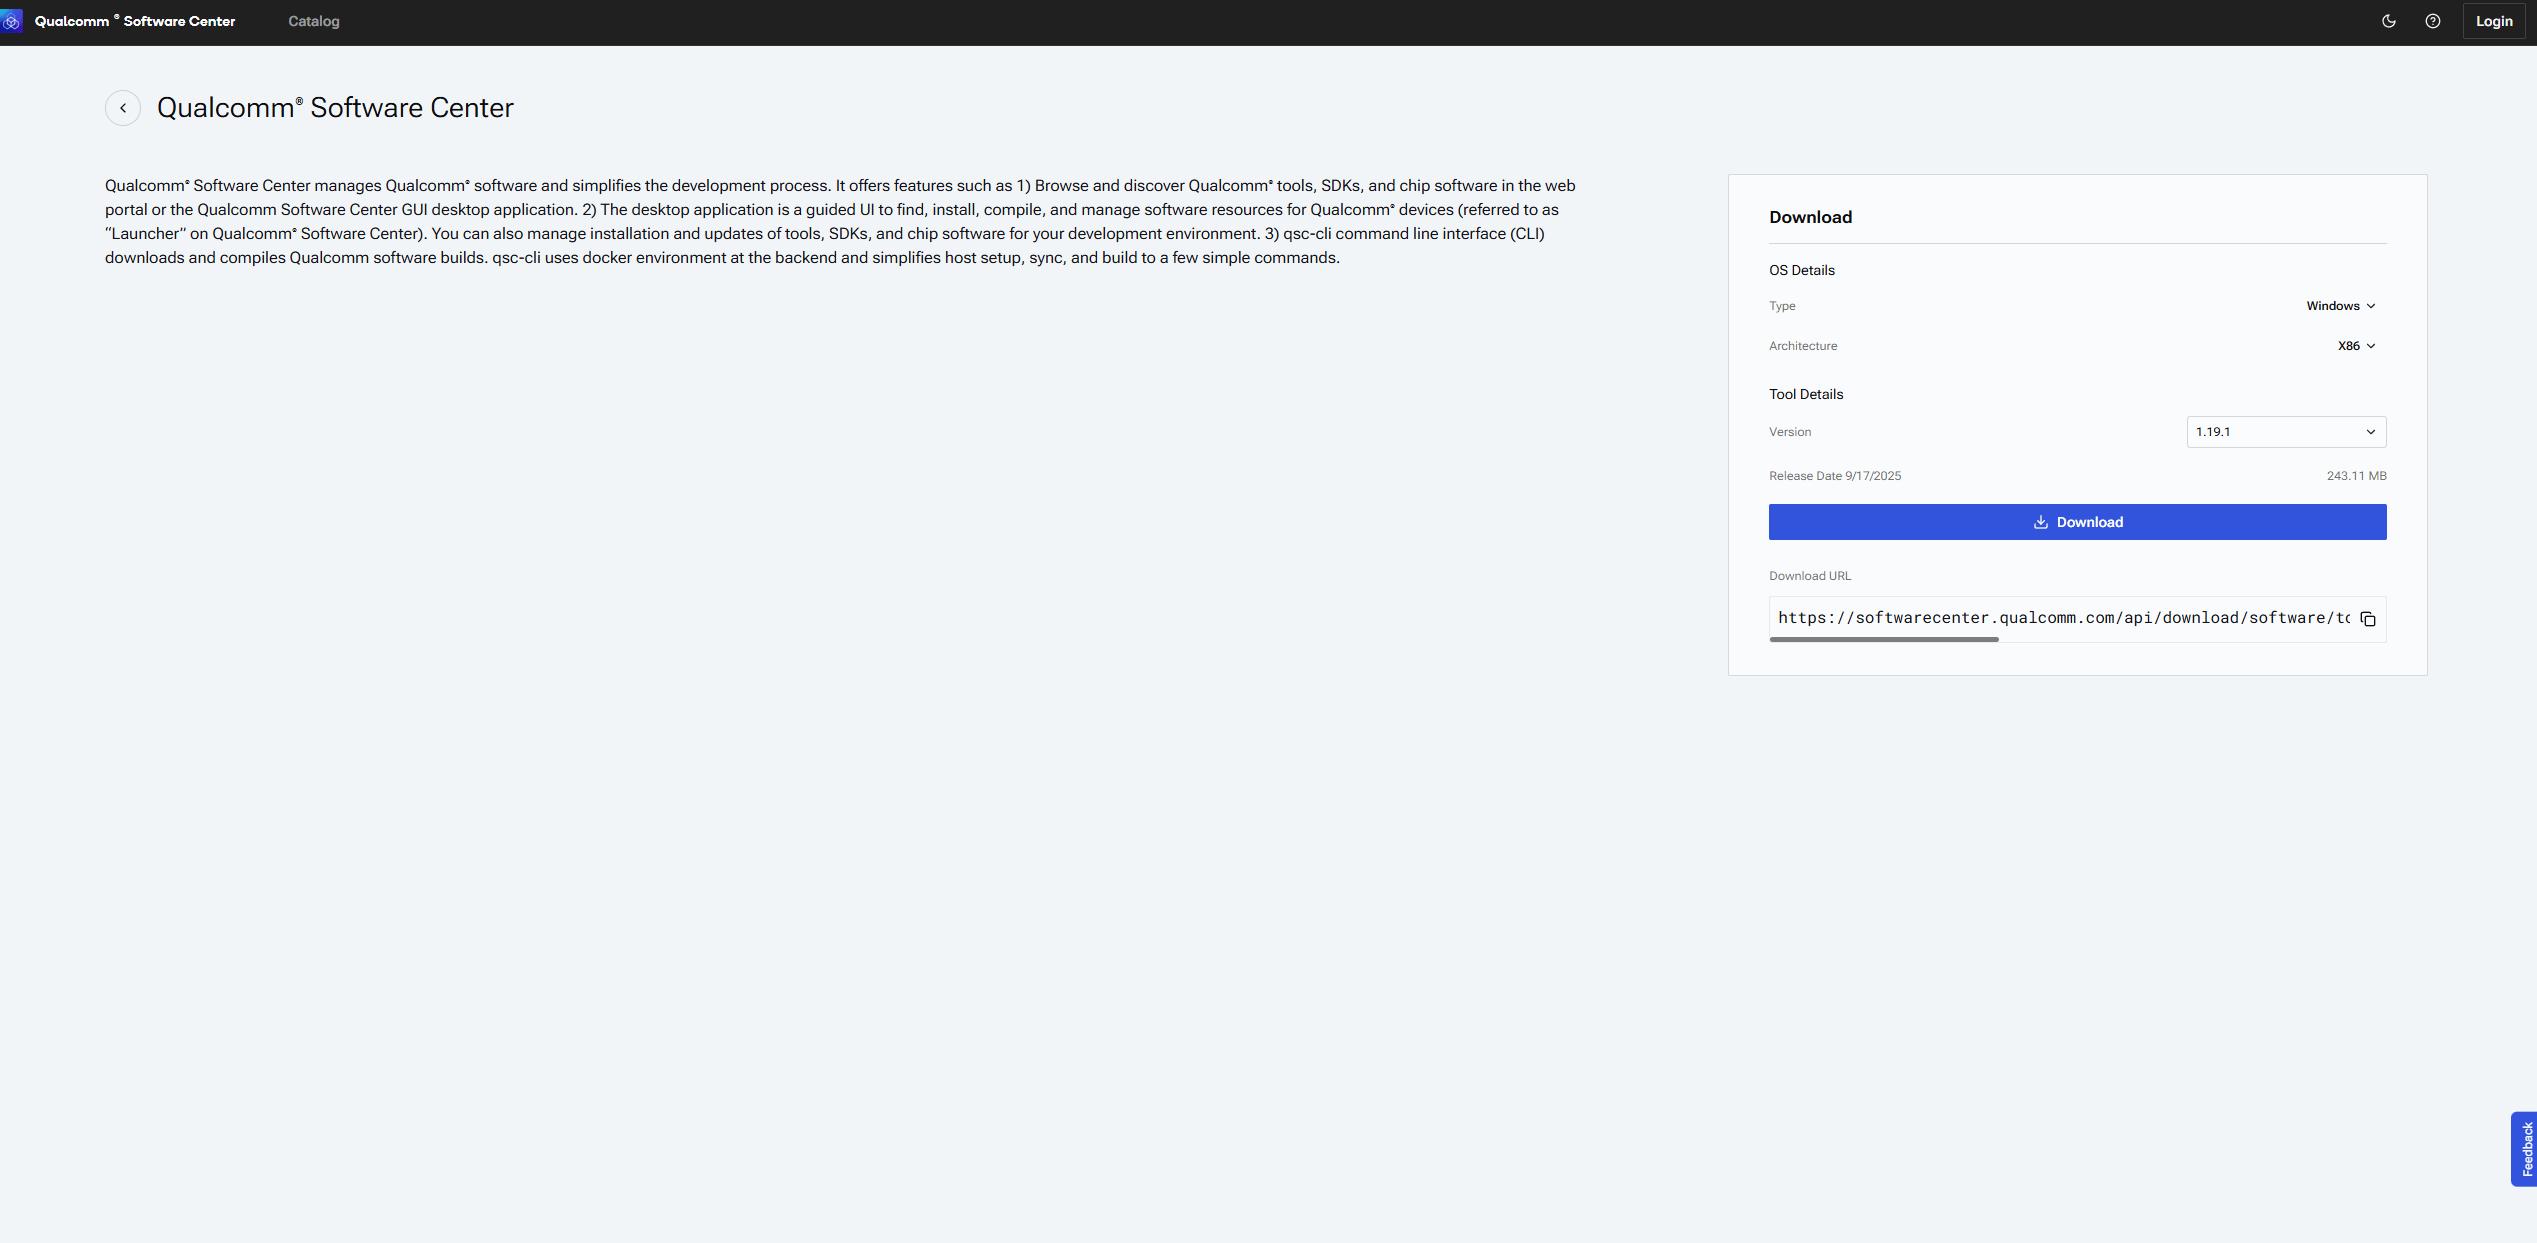
Download QSC for Windows
- Log in to https://softwarecenter.qualcomm.com/catalog/item/Qualcomm_Software_Center with your Qualcomm ID.
- Select Install.
Install QSC for Windows
- Select the QSC .exe executable to start the install.
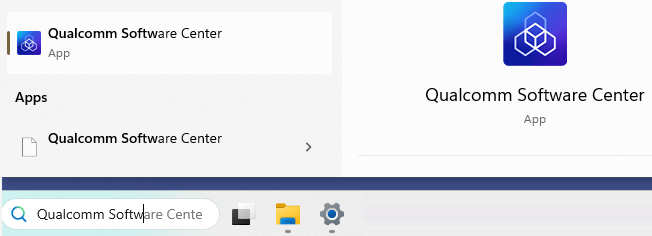
- To open the Qualcomm Software Center desktop application after installation, search for Qualcomm Software Center in the Windows Search box.
Linux
Download QSC for Linux
Download Qualcomm Software Center for Linux using the following options.GUI
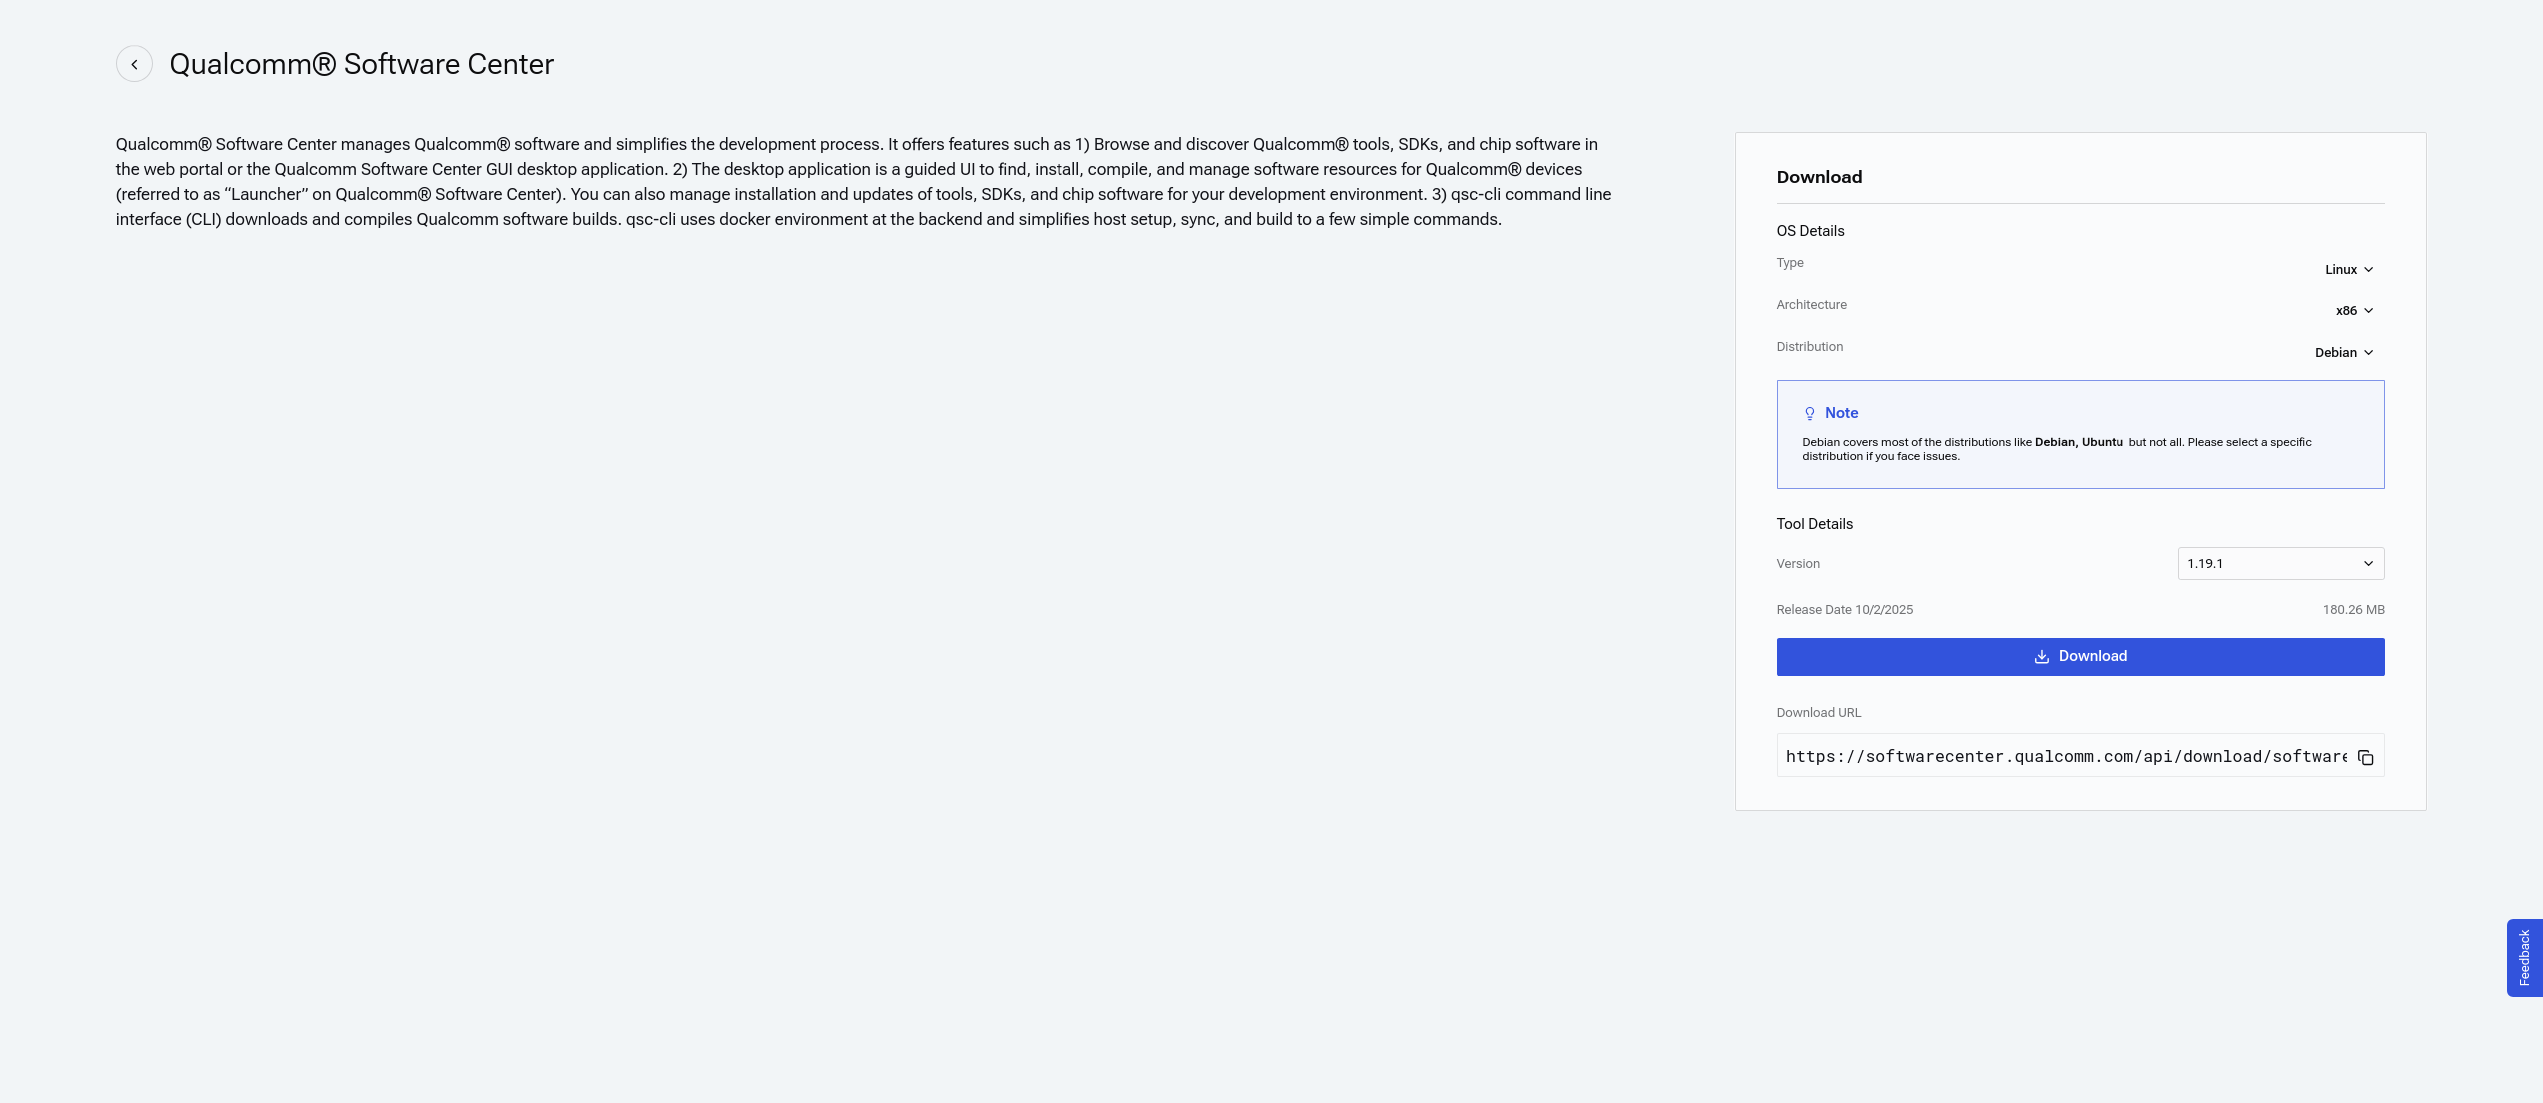
- Log in to https://softwarecenter.qualcomm.com/catalog/item/Qualcomm_Software_Center with your Qualcomm ID.
- Select Install.
CLI
- If not already installed, run the following command to install curl.
sudo apt install curl
- To download the QSC installer for x86, run the following command.
curl -L https://softwarecenter.qualcomm.com/api/download/software/tools/Qualcomm_Software_Center/Linux/Debian/latest.deb -o qsc_installer.deb
For ARM64, the installer path is
[https://softwarecenter.qualcomm.com/api/download/software/qsc/linux-arm64/latest.deb.](https://softwarecenter.qualcomm.com/api/download/software/qsc/linux-arm64/latest.deb`.)Install QSC for Linux
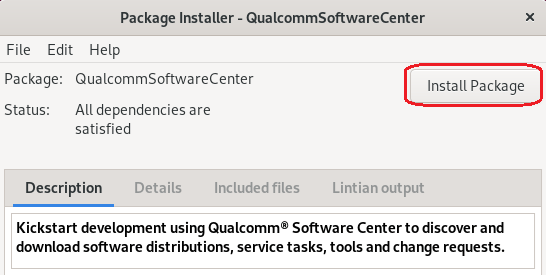
Install Qualcomm Software Center for Linux using the following options.GUI
Install the downloaded QSC Debian package using the Ubuntu GNOME GUI (GDebi). To install GDebi, run the following command in a terminal window.sudo apt install gdebi
CLI
To install the Debian package, run the following command.sudo apt update
sudo apt install ./qsc_installer.deb
Ignore the following error message if it appears:
o/p:: N: Download is performed unsandboxed as root as file '/home/ubuntu22/qsc_installer.deb' couldn't be accessed by user '_apt'. - pkgAcquire::Run (13: Permission denied)Installed Qualcomm Software Center v1.X.X successfully message displays.
For the Launcher workflow to detect connected devices and flash software builds, PCAT and QUD must be installed on the host machine. Follow the instructions to use the qsc-cli to install PCAT and QUD .
Mac (arm)
Download QSC for Mac
- Log in to Qualcomm Software Center with your Qualcomm ID.
- Select Install. :alt: Download software center :scale: 60 The QSC executable downloads to your machine.
Install QSC for Mac
To install QSC for Mac devices, use one of the following options.- Using the terminal, navigate to the Downloads folder and run the following.
sudo installer -pkg <path_to_downloaded_installer> -target /
- Using Finder, navigate to the Downloads location and double-click the installer. Follow the onscreen instructions to complete the installation.
Windows Subsystem for Linux (WSL)
Machine requirements
- Windows 11 or Windows 10 Build 18362.1049 or later.
- Minimum of 32 GB RAM. Follow the instructions at Speed up qsc-cli operations to allocate available RAM to WSL.
- Minimum available storage of 500 GB.
Prerequisites
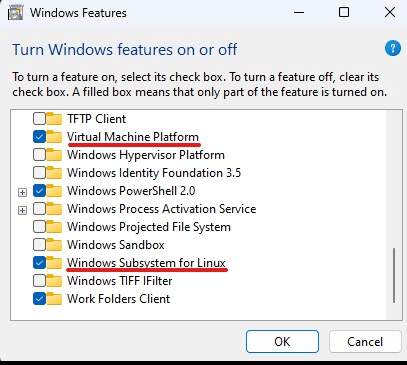
Before installing WSL2, ensure the following Windows features are enabled.- Microsoft-Windows-Subsystem-Linux
- VirtualMachinePlatform
If you had to enable any or both of the above features, Windows may ask you to restart the machine. Please restart your machine first and then proceed with the next steps.
Install QSC for WSL
- Install WSL using the procedure at https://learn.microsoft.com/en-us/windows/wsl/install. To set WSL2 as the default WSL version, run the following command in Windows PowerShell in admin mode.
wsl --set-default-version 2
- Install Ubuntu distro by running the following command in Windows PowerShell in admin mode.
wsl --install -d Ubuntu-22.04
Once the installation completes, create a new username and password. You will be logged in by default as that user upon account creation.
- Install qsc-cli by running the following commands in the Ubuntu session.
curl -L https://softwarecenter.qualcomm.com/api/download/software/tools/Qualcomm_Software_Center/Linux/Debian/latest.deb -o qsc_installer.deb
sudo apt update
sudo apt install ./qsc_installer.deb
Ignore the following error message if it appears:
o/p:: N: Download is performed unsandboxed as root as file '/home/ubuntu22/qsc_installer.deb' couldn't be accessed by user '_apt'. - pkgAcquire::Run (13: Permission denied)- Wait ~5 minutes and install the docker with the following commands.
curl -fsSL https://get.docker.com -o get-docker.sh
sudo sh get-docker.sh
sudo usermod -aG docker $USER
sudo service docker start
- Set the docker to start automatically by opening
/etc/wsl.confand adding the following line (if not present).
- On a Windows PowerShell in admin mode, run the following command for the changes to take effect.
wsl --shutdown
For the Launcher workflow to detect connected devices and flash software builds, PCAT and QUD must be installed on the Windows host machine. Follow the instructions to use the qsc-cli to install PCAT and QUD .
Postrequisites
After installing WSL, the following optimizations are required.Optimize WSL performance
By default, Ubuntu installs on your C drive, which may not have enough space. If you have another drive with more storage space, you can change your Ubuntu distro’s install location to optimize performance.- Run the following command in Windows PowerShell in admin mode.
wsl --shutdown
- From the Windows search bar, open Add or Remove Programs.
- Locate Ubuntu-22.04 in the list of apps.
- Select the app and then Select Move.
- Use the dropdown to select a new location and select Move.
It may take some time for the move to complete.
Optimize QSC CLI operation speed
The system limits RAM usage by WSL to 50% of the total RAM on Windows. For example, even if you have 32 GBs of RAM available on the host, only 16 GBs would be allocated to WSL. A workaround for this limitation is to update the .wslconfig file where you can allocate available RAM to WSL.- Create a
%UserProfile%.wslconfigfile with the following content.
These values are just for reference. Please crosscheck each of these settings to match the specifications on your machine.
- Run the following command in Windows PowerShell in admin mode.
wsl --shutdown
- Launch the Ubuntu distro again to start using qsc-cli .
Only qsc-cli is supported on WSL. The Qualcomm Software Center desktop application may not work on WSL.
Support
- For common WSL related issues, see Microsoft troubleshooting.
- For network related issues, see Microsoft GitHub.
- For additional troubleshooting, see WSL support .
UTM for Mac
Machine requirements
- Host operating system: macOS Big Sur 11.3 or later
- Architecture: ARM64
- Processors: ARM-based Apple Silicon processor
- Minimum of 18 GB RAM
- Minimum available storage of 500 GB (300 GB free space)
Download UTM and set up VM
- Download the applicable Ubuntu ISO image from the Ubuntu website. If your Mac laptop uses ARM architecture, download the ARM ISO image. a. Go to https://ubuntu.com/download/server/arm. b. Select Alternative and previous releases. c. Download the 22.04 ISO image.
- Download and install UTM. a. Go to https://mac.getutm.app/ and select Download. b. Double-click the downloaded .dmg file and drag and drop UTM into you Applications folder. c. Go to Applications and open UTM.
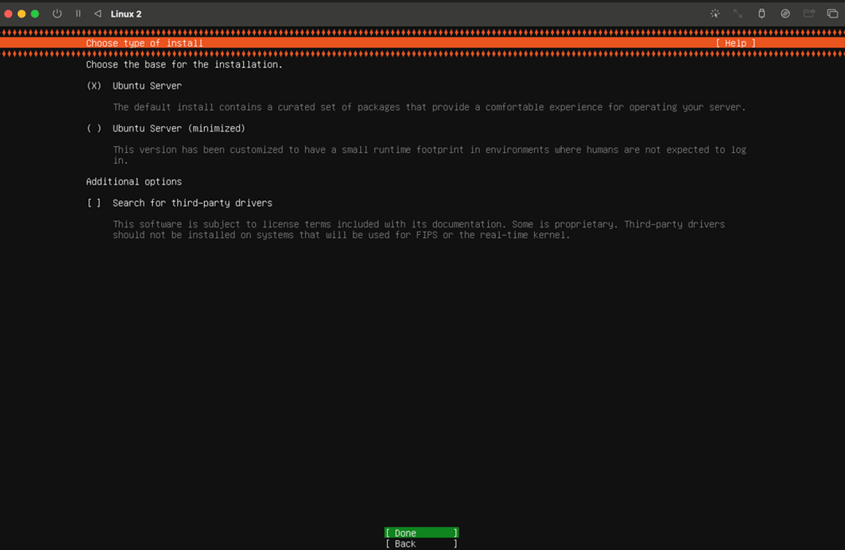
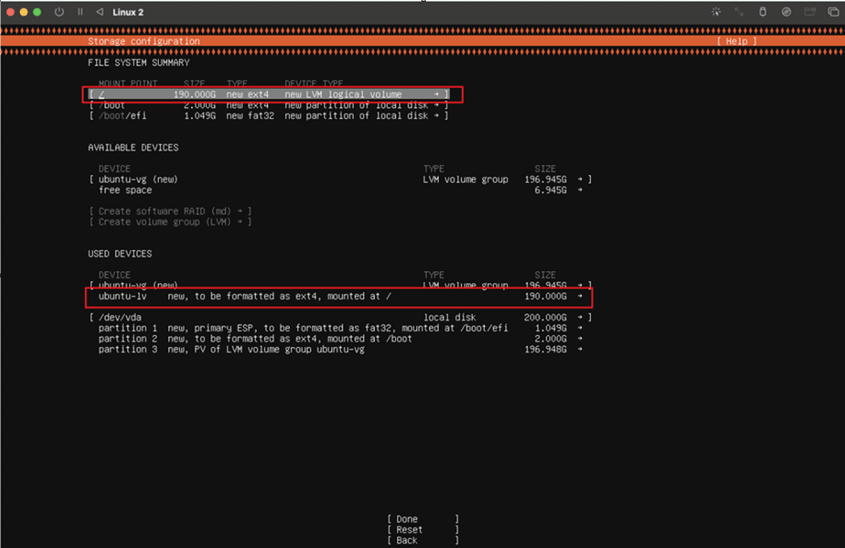
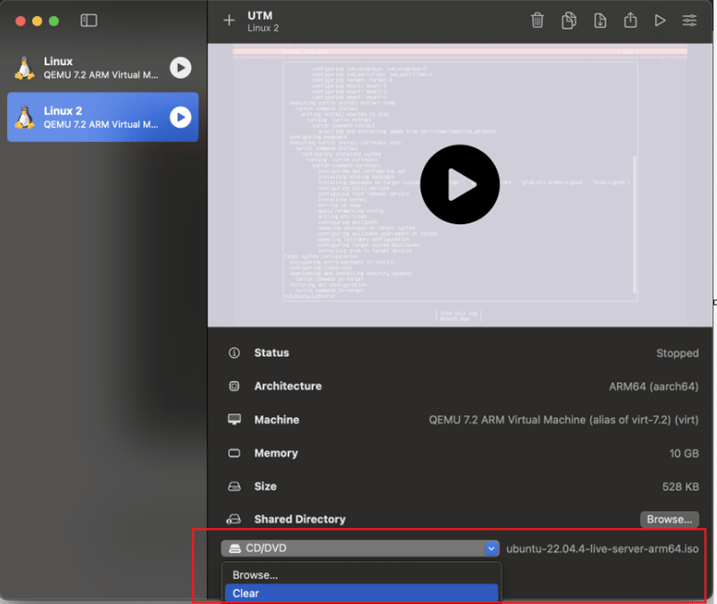
- Install Ubuntu. a. Select Create a New Virtual Machine. b. Select Virtualize. c. Select Linux as the operating system. For Boot ISO Image, select Browse to navigate to and select the previously downloaded Ubuntu ISO image file. d. Select Continue e. Select RAM and CPU cores (the minimum recommended RAM and cores are 10 GB and 6 cores, respectively) and select Continue. For better performance use 70% of the host configuration.
To check the system configuration on your Mac, select Apple menu > System Settings, then select General in the sidebar. You may need to scroll down. On the right, select About, then select System Report.
- Open and set up Ubuntu by selecting the virtual machine play button.
The Tab key will move the cursor. The Space key will select the option.
This does not erase content inside the macOS.
The username and password will become the login credentials for the VM.
- To use the VM, select the play button and log in. It may take time to show the Ubuntu login screen. If it fails to appear, restart UTM and start the VM.
- Install Ubuntu desktop. a. In the Ubuntu terminal, run the command to update your system.
sudo apt update && sudo apt upgrade -y
b. Install Ubuntu desktop.
sudo apt install ubuntu-desktop -y
c. Reboot the system.
reboot
Ubuntu desktop is now installed.
- Connect a USB to the machine. The VM will ask to allow the USB to connect. On Ubuntu desktop, select the USB symbol in the top right corner to view recently connected USBs. A list of available USBs can be accessed in the Ubuntu terminal by running the command.
lsusb
Install QSC-CLI
- After setup is complete, install qsc-cli by running the following commands in the Ubuntu session.
curl -L https://softwarecenter.qualcomm.com/api/download/software/qsc/linux-arm64/latest.deb -o qsc_installer.deb
sudo apt update
sudo apt install ./qsc_installer.deb
Ignore the following error message if it appears:
o/p:: N: Download is performed unsandboxed as root as file '/home/ubuntu22/qsc_installer.deb' couldn't be accessed by user '_apt'. - pkgAcquire::Run (13: Permission denied)For the Launcher workflow to detect connected devices and flash software builds, PCAT and QUD must be installed on UTM. Follow the instructions to use the qsc-cli to install PCAT and QUD .