

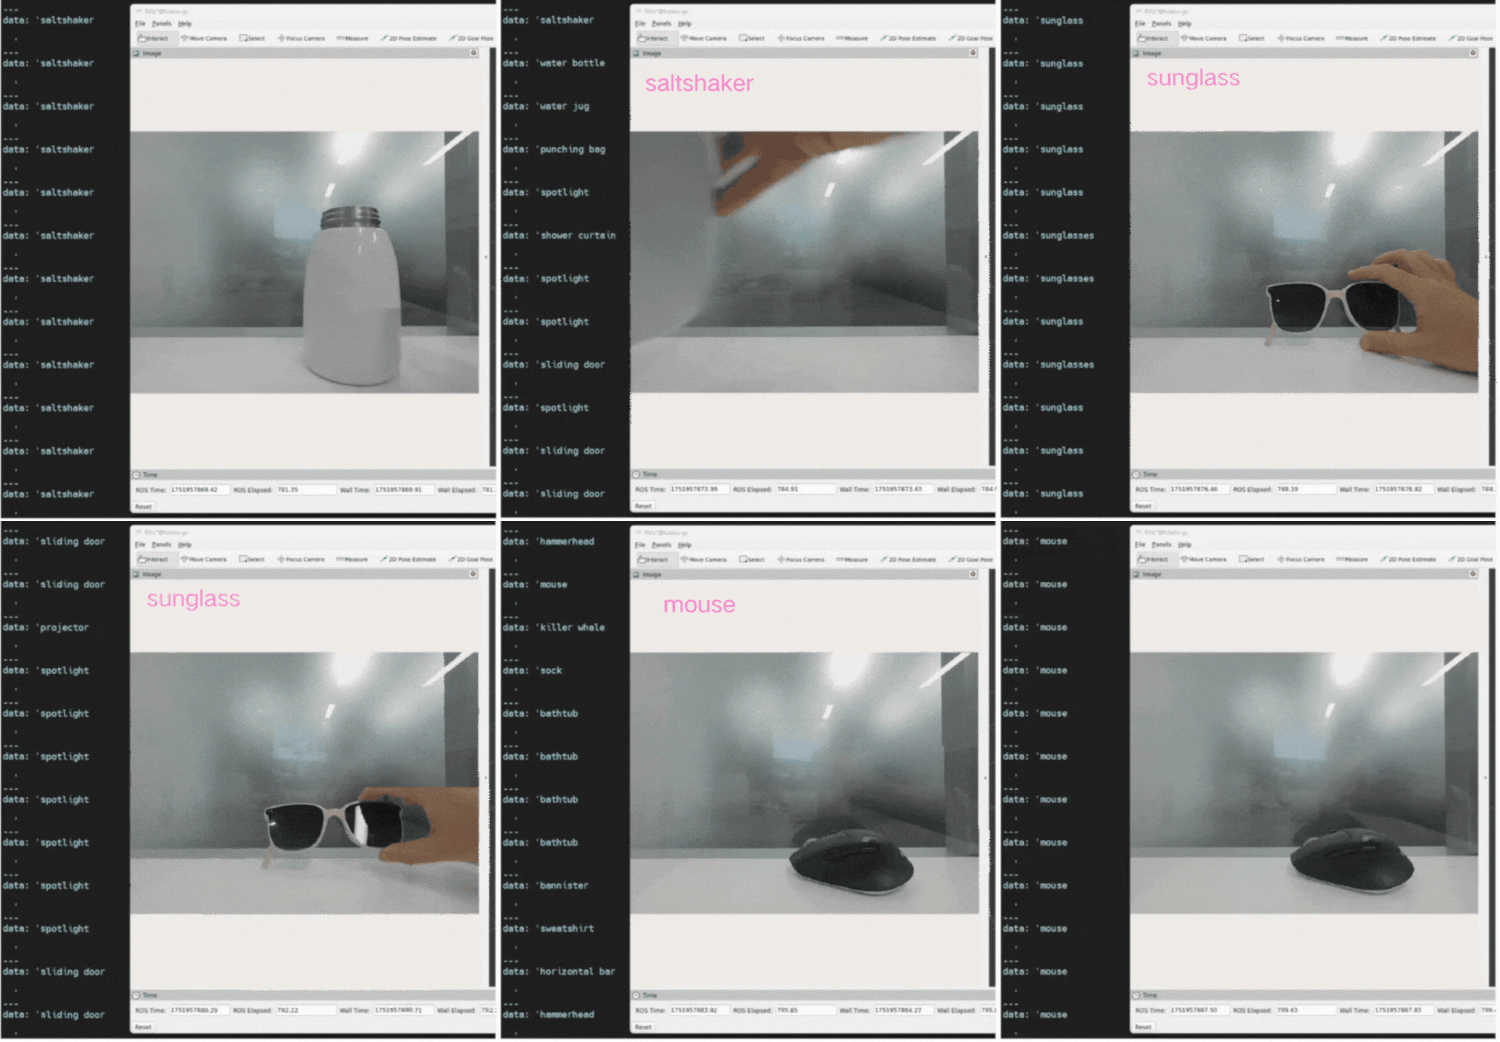
Image classification result.
Image classification pipeline flow
The following figure shows the pipeline flow for the image classification sample application.
Image classification pipeline.
ROS nodes used in the image classification pipeline
The following table lists the ROS nodes used in the image classification pipeline.ROS topics used in the image classification pipeline
The following table lists the ROS topics used in the image classification pipeline.Prerequisites
You have set up the device, installed ROS2 Jazzy and Qualcomm Intelligent Robotics (QIR) SDK on the device according to Install the QIR SDK.Run out-of-the-box image classification
1
Install the image classification packages
Install the packages
2
Set up the sample environment on the device
Launch the sample application
launch_with_image_publisher.py launch script uses the default parameters:local glasses.jpg file, and outputs the image at 10 Hz.b. Then, you can check ROS topics with the name/resnet101_output in another shell terminal.Output
Build from the source of image classification
Build the image classification sample from source when you need to change the sample code. The device steps install the dependencies, clone the source repository, and build the package.Device steps
1
Install the dependencies
Install the dependencies
2
Download the source code from the qrb_ros_samples repository
3
Build the object_detection sample application from the source code
Build the sample application
4
Run and test the sample application
Run and test according to step 2 of Run out-of-the-box image classification.