

Prerequisites
Flashing must be complete before proceeding. If you haven’t flashed yet, see Flash the Operating System.Configuration steps
Reboot and open Configure Login
Reboot the device into the newly installed operating system, then click Configure Login in Qualcomm® Launcher to begin setup.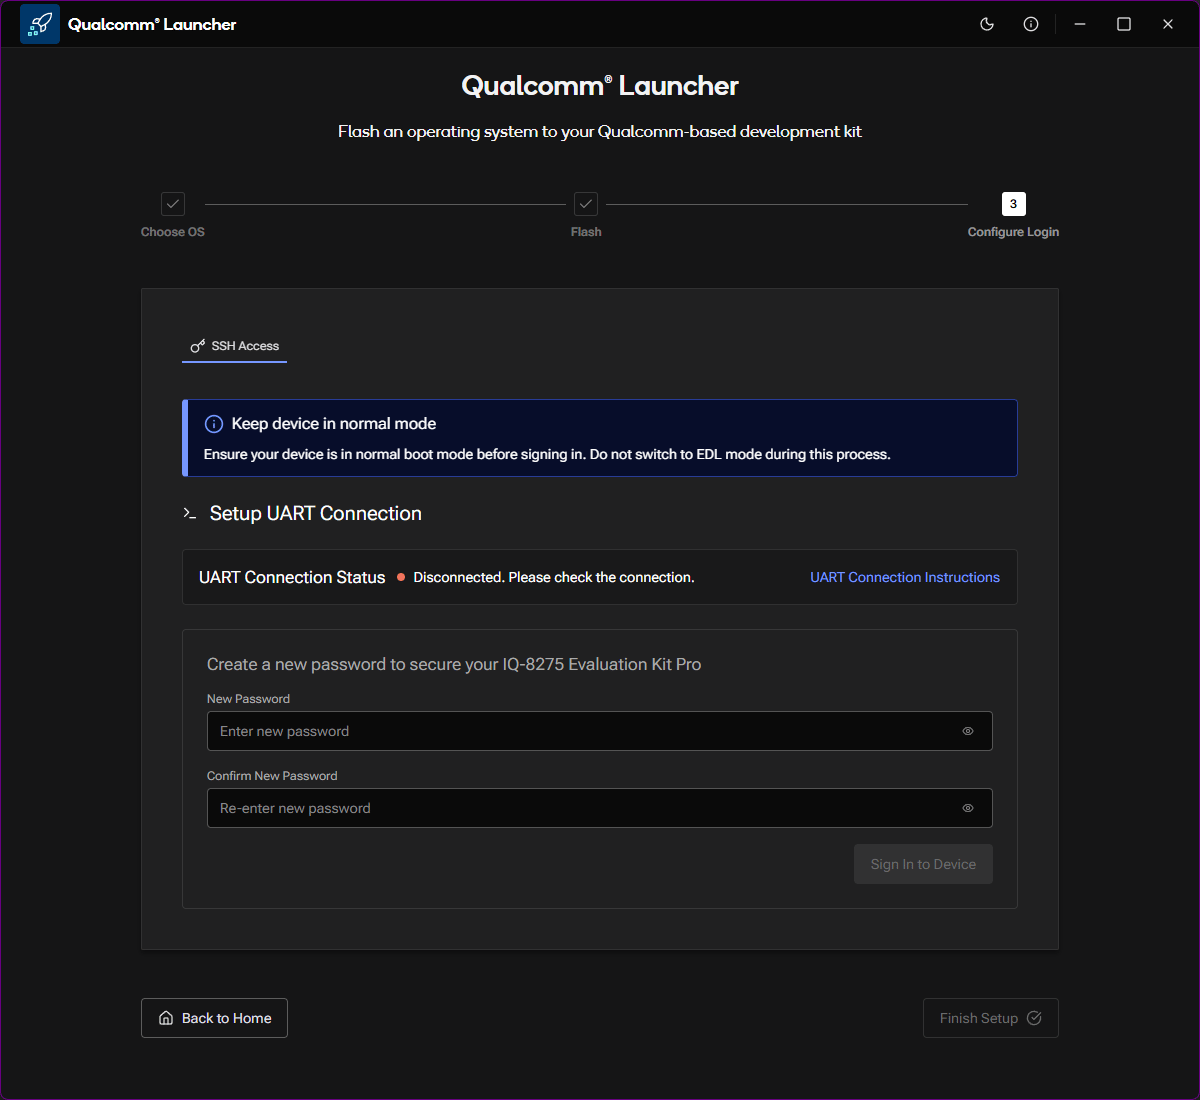
Connect the MicroUSB cable
Connect the MicroUSB cable to your device as shown on the screen. This cable
is used for the initial UART-based setup connection.
Set a new password
Once the UART connection is established (status shows Connected), create a new password to secure your development kit, then click Sign In to Device.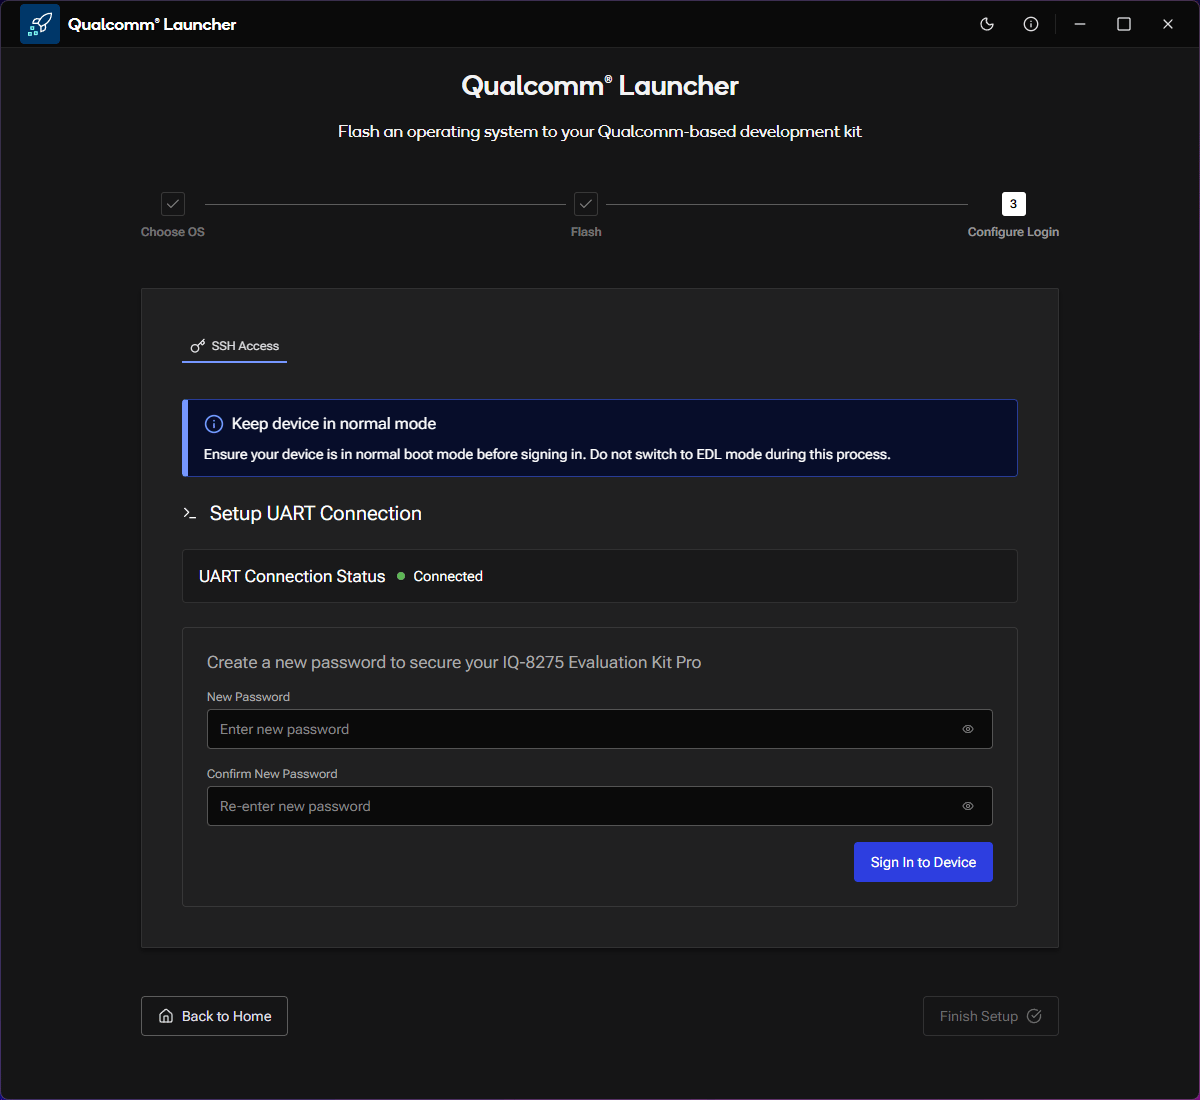
Connect to Wi-Fi
Select your Wi-Fi network from the list of available networks and enter the password when prompted, then click Configure Wi-Fi.
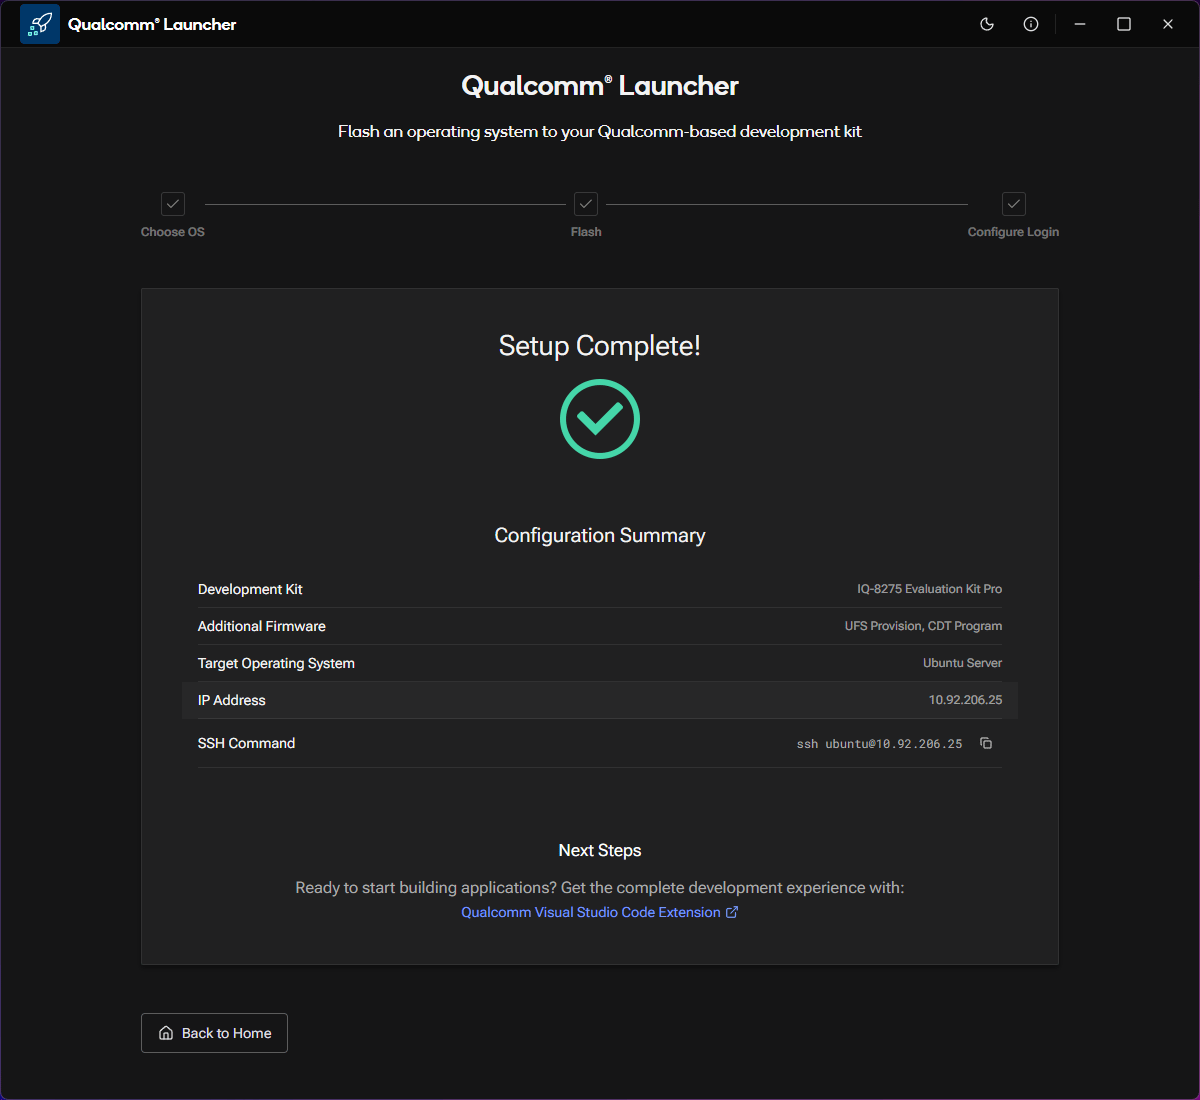
Configuration summary
After setup, the Configuration Summary shows:| Field | Value |
|---|---|
| Development Kit | IQ-8275 Evaluation Kit Pro |
| Additional Firmware | UFS Provision, CDT Program |
| Target Operating System | Ubuntu Server |
| IP Address | Assigned by your network |
| SSH Command | ssh ubuntu@<ip-address> |
Next steps
Connect via SSH
Use the SSH command from the Configuration Summary to access your device
remotely.
Install VS Code Extension
Get the full development experience with the Qualcomm Visual Studio Code
Extension.
Flash a different OS
Reflash the device with a different operating system image.